Category: Lawn & Garden

Helpful lawn and garden product reviews, ideas, and maintenance tips.

  • Practical Gifts for Gardeners in Iowa: Ideas They Will Actually Use

    Practical Gifts for Gardeners in Iowa: Ideas They Will Actually Use

    Skip to content

    Lawn & Garden • Iowa gift guide • Updated October 27, 2026

    Practical Gifts for Gardeners in Iowa: Ideas They Will Actually Use

    Explore related guides: Gardening in Iowa: all guides · Gifts for gardeners under $50 · When to plant garlic in Iowa · Solar lights for cold climates · When to plant tomatoes in Iowa · Best raised beds for Iowa · When to start seeds in Iowa · Fiskars Ergo trowel review · Best garden trowel · Bypass vs anvil pruners · Garden tool storage ideas · Iowa fall cleanup checklist.

    Shopping for a gardener in December is easier than it looks: the best gifts for gardeners are the everyday tools they wear out, plus a few things that help them get through an Iowa winter until planting time. This guide pulls its ideas from Iowa State University Extension and the ISU horticulturists who share gift picks on Iowa Public Radio each year, then matches them with products sold by Amazon.com.

    Gifts for gardeners: well-used gardening gloves and bypass pruners on a garden table
    Gloves and pruners wear out, which makes them reliable gifts. Photo: shrinkin’violet, CC BY 2.0, via Wikimedia Commons.

    The short answer

    For most gardeners, give a well-made hand tool: forged bypass pruners, a sturdy trowel or a soil knife. Add gloves or a garden kneeler for comfort, a rain gauge for the vegetable grower, or grow lights for someone who starts seeds in late winter. If you are not sure what they need, an Iowa garden membership or a garden center gift card lets them choose in spring.

    How to choose a gift for a gardener

    • Pick quality over quantity. ISU suggests stainless steel or forged tools because they are durable and resist rust. One good pruner beats a cheap five-piece set.
    • Think comfort. Ergonomic hand tools, long-handled tools and kneeling benches reduce strain, which matters more every season.
    • Try something new. ISU recommends tools a gardener has not tried yet, such as a soil knife or a specialized weeder.
    • Be careful with plants. Many gardeners have strong plant preferences. If you are unsure, ISU suggests a gift certificate so they can pick what suits their yard.
    • Add a personal touch. ISU’s tip: pair the gift with a handwritten note or a seed packet.

    Gift ideas at a glance

    Seven practical gifts for gardeners, matched to the person
    GiftBest forWhy it works
    Corona forged bypass prunerAnyone with shrubs, roses or fruitForged steel, clean cuts on live stems
    Fiskars Ergo trowelVegetable and flower plantersRust-resistant head, comfortable grip
    Corona hori garden knifeThe gardener who has everythingDigs, weeds, divides and cuts
    Garden kneeler and seatOlder gardeners, sore kneesKneel or sit, folds flat
    Wells Lamont leather glovesPruning and rough jobsLeather palm, flexible back
    AcuRite rain gaugeVegetable growersShows when the 1 inch a week arrived
    iPower grow light stripsSeed startersLight and timer for winter seedlings

    7 practical gifts for gardeners

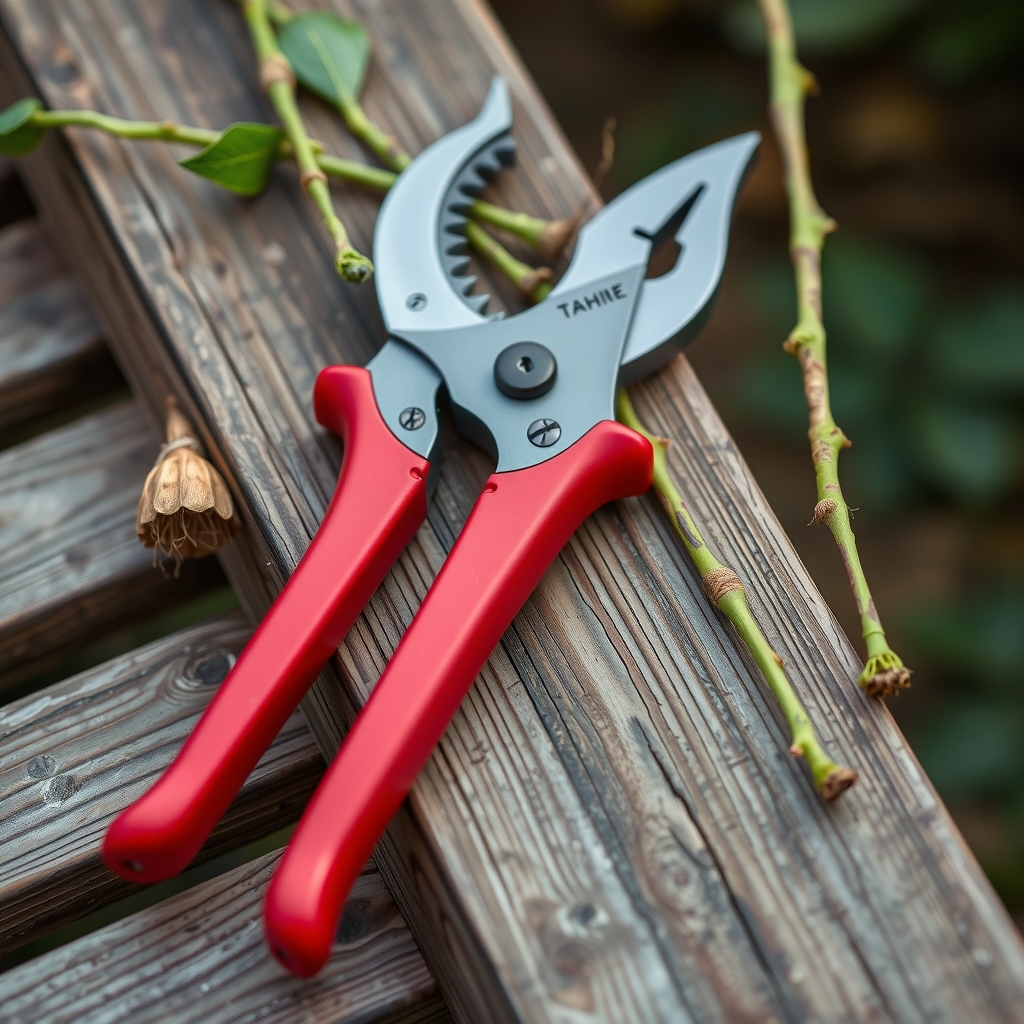
    1. For the pruner: Corona BP 3180D Forged Bypass Pruner

    Product pick

    Corona BP 3180D forged bypass pruner
    Bypass hand pruners, illustrative AI image

    Illustrative image (AI-generated), not the exact product.

    See current photos and price on Amazon →

    ISU Extension puts bypass pruners at the top of its tool list and suggests choosing forged or stainless steel tools because they last. This Corona pruner checks both boxes: a forged steel bypass blade that cuts live branches up to 1 inch thick, with contoured non-slip handles. Bypass blades slide past each other like scissors, which is what you want for clean cuts on living stems. Our bypass vs anvil pruner guide explains the difference.

    Check the Corona pruner on Amazon

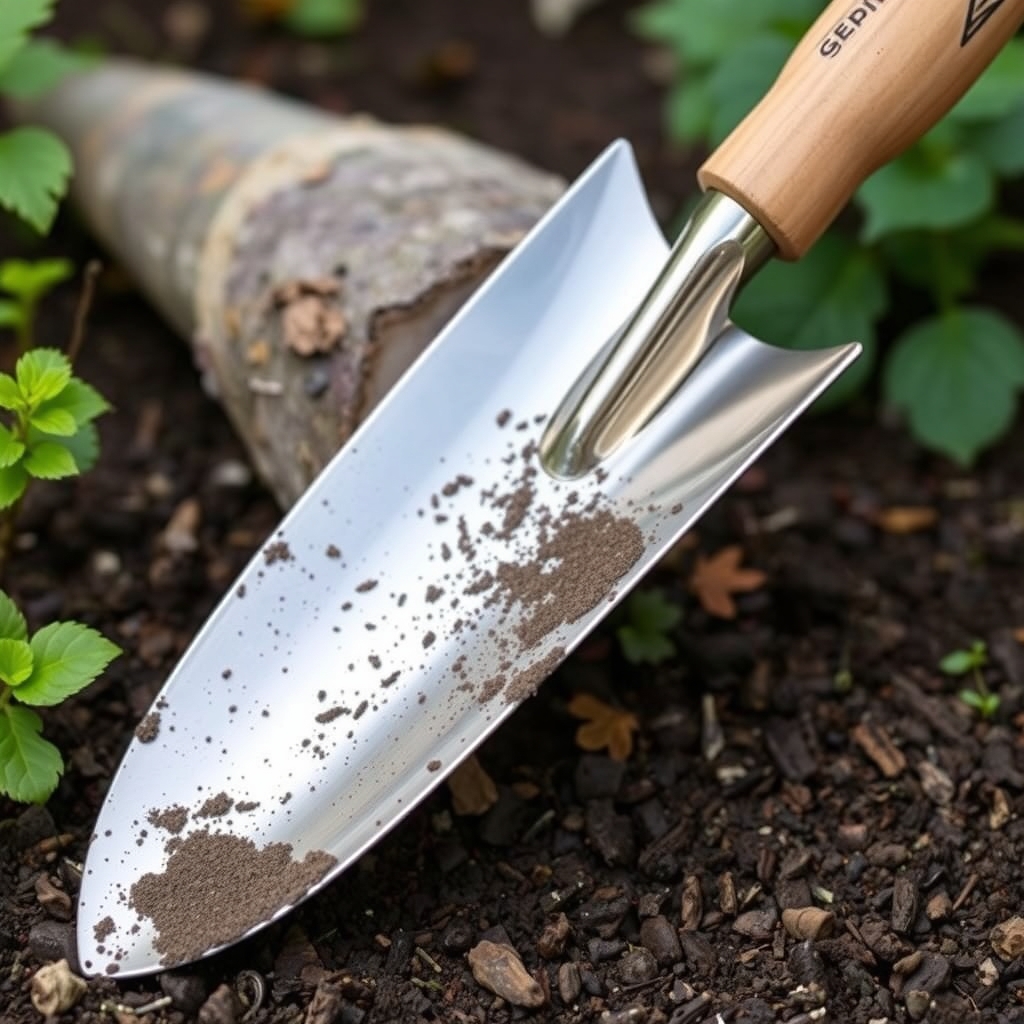
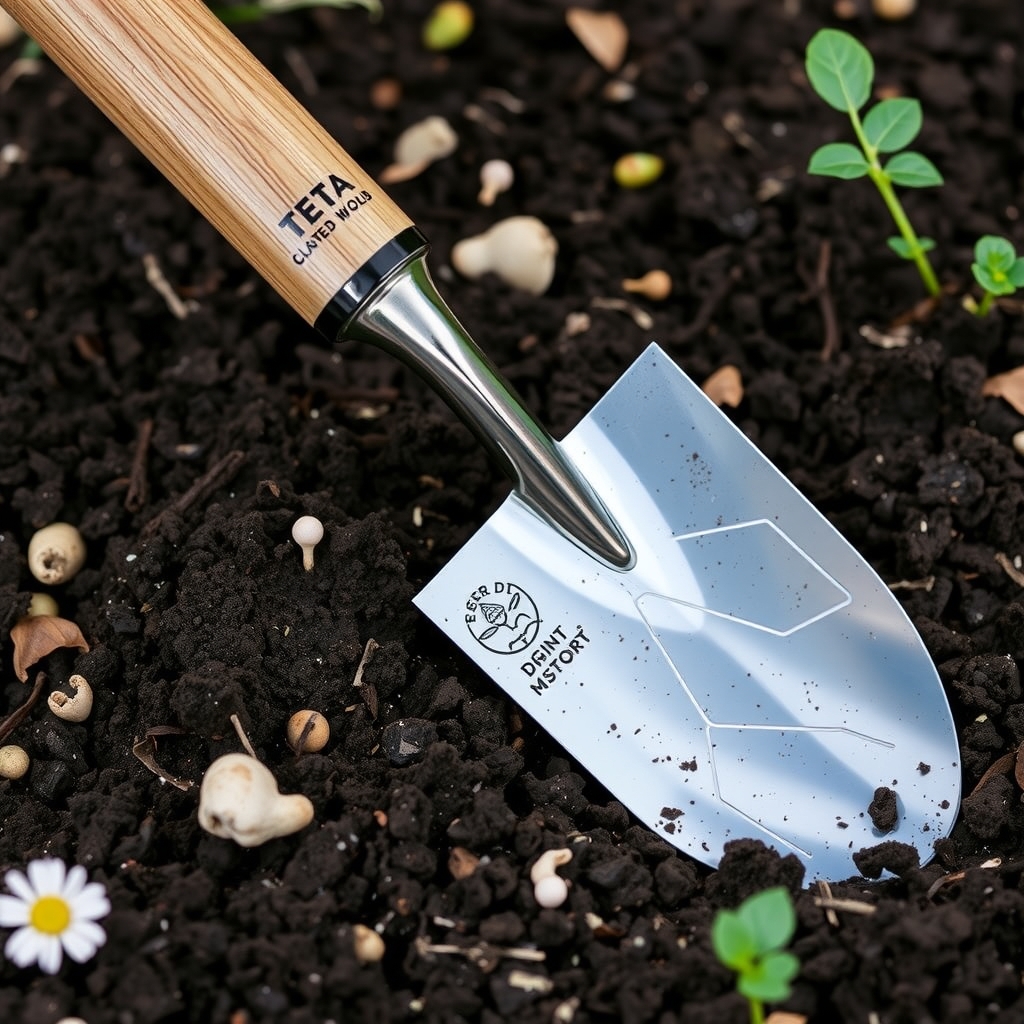
    2. For the planter: Fiskars Ergo Garden Trowel

    Product pick

    Fiskars Ergo garden trowel
    Hand trowel in garden soil, illustrative AI image

    Illustrative image (AI-generated), not the exact product.

    See current photos and price on Amazon →

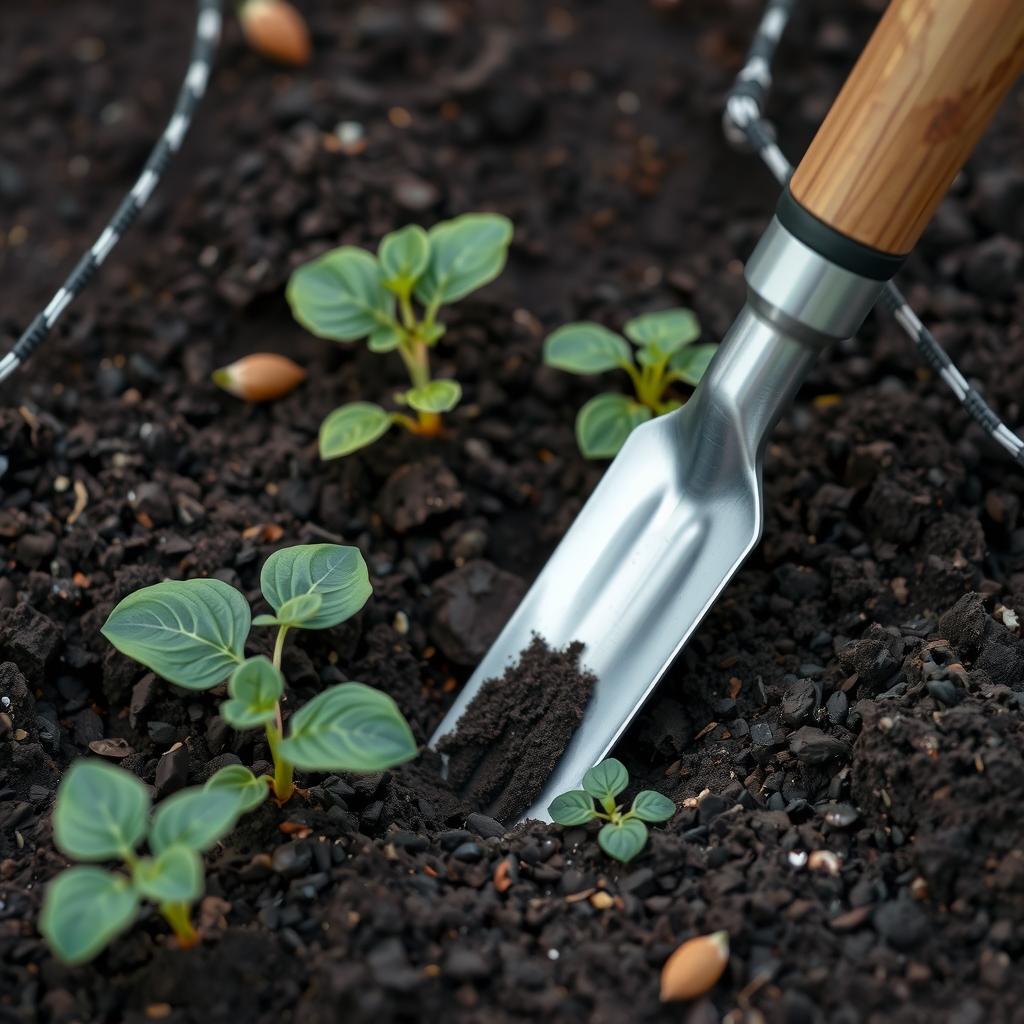
    A trowel gets used every week from April to October, so a good one is a gift that gets noticed. The Fiskars Ergo has a cast-aluminum head that resists rust and an ergonomic handle, the kind of comfort-focused hand tool ISU suggests. We cover it in detail in our Fiskars Ergo trowel review, and compare other options in our best garden trowel guide.

    Check the Fiskars Ergo trowel on Amazon

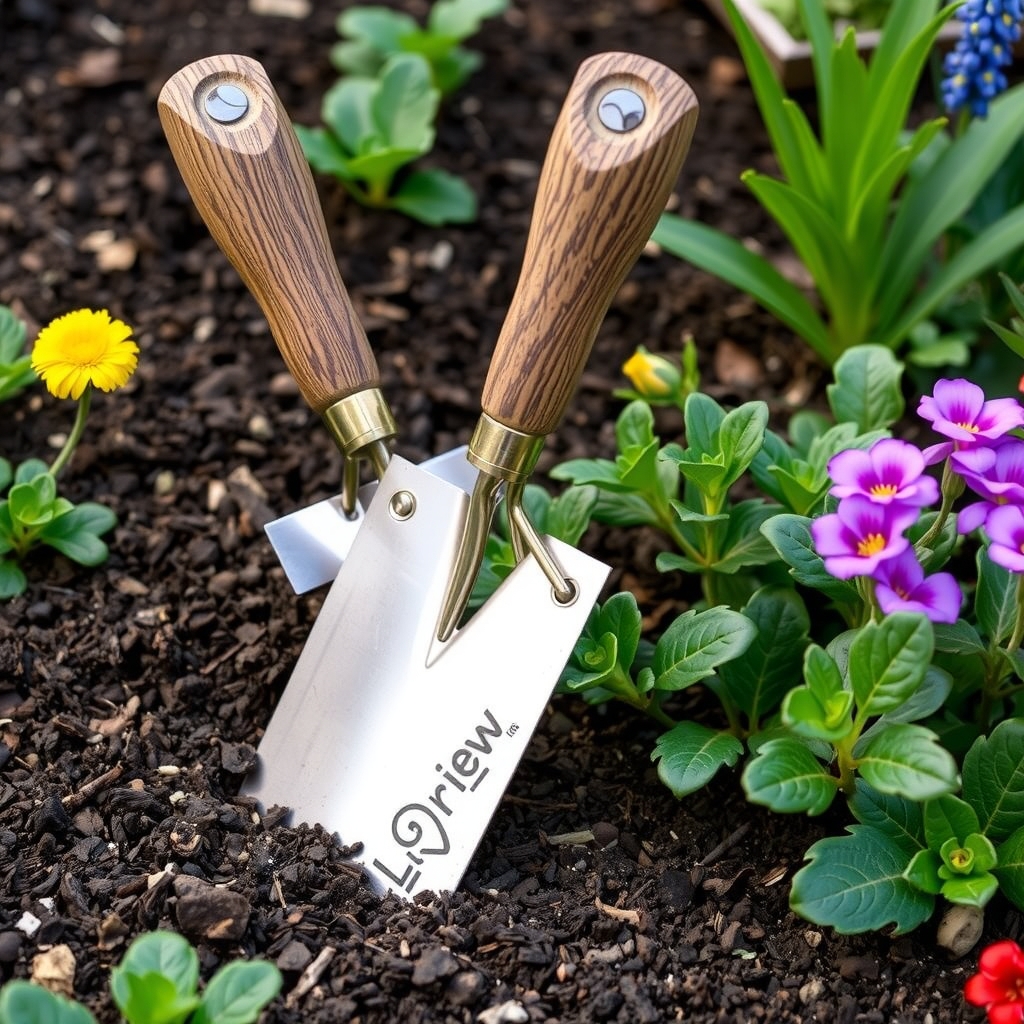
    3. For the gardener who has everything: Corona Hori Garden Knife

    Product pick

    Corona hori garden knife
    Hori hori soil knife, illustrative AI image

    Illustrative image (AI-generated), not the exact product.

    See current photos and price on Amazon →

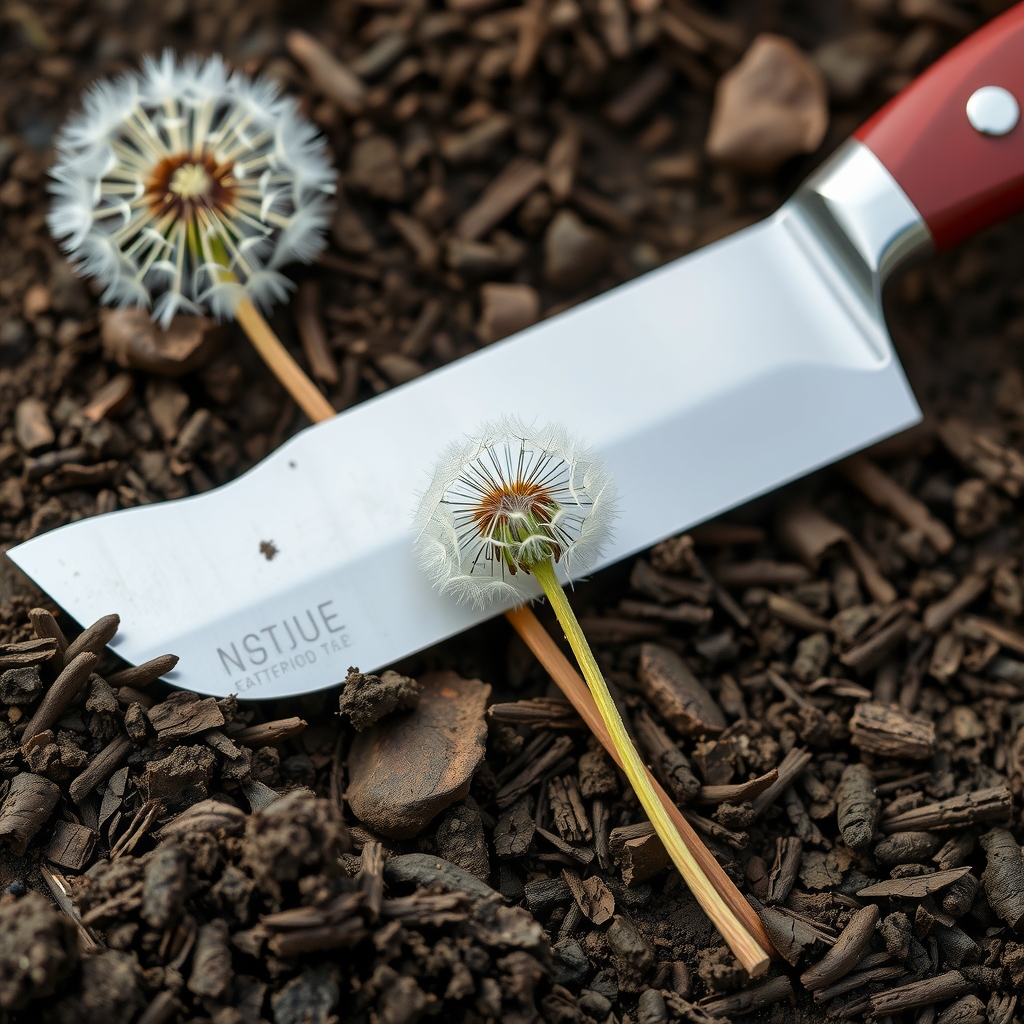
    ISU suggests giving tools a gardener has not tried yet, and the soil knife (hori hori) is its first example. It digs planting holes, weeds, transplants, divides roots and cuts through compacted soil and sod. On Iowa Public Radio’s Talk of Iowa, ISU horticulturists suggested a soil knife as a stocking stuffer. This Corona version has a pointed tip for planting and a bright red handle that is easy to find in the grass.

    Check the Corona hori knife on Amazon

    4. For tired knees: Foldable Garden Kneeler and Seat

    Product pick

    Foldable garden kneeler and seat
    Garden kneeler bench, illustrative AI image

    Illustrative image (AI-generated), not the exact product.

    See current photos and price on Amazon →

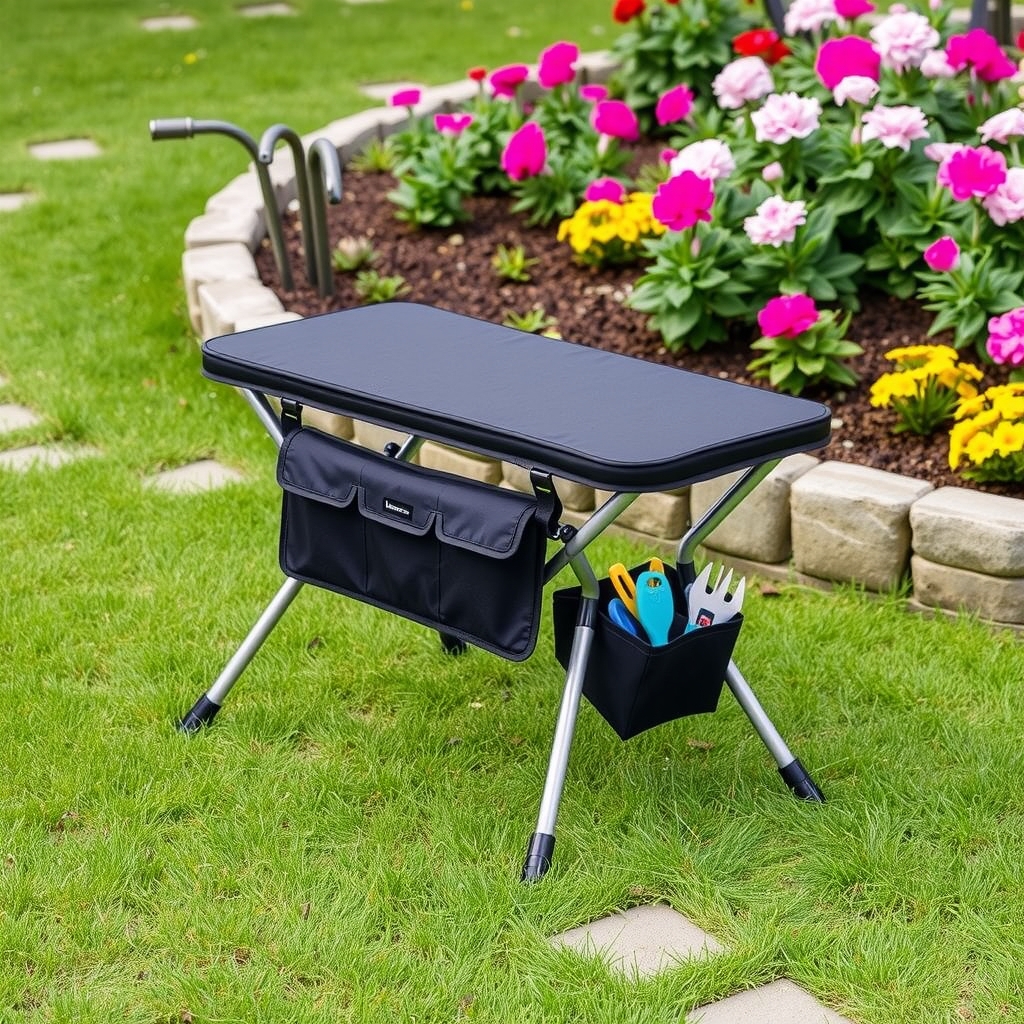
    ISU’s gift list includes garden kneeling benches with storage, and this is that idea in one piece. Flip it one way and it is a padded EVA foam kneeler; flip it over and it is a low seat. A removable pouch holds a trowel and gloves. It folds flat to hang in the garage over winter.

    Check the garden kneeler on Amazon

    5. For hands: Wells Lamont HydraHyde Leather Hybrid Gloves (Women’s)

    Product pick

    Wells Lamont women’s HydraHyde leather hybrid gloves
    Leather gardening gloves, illustrative AI image

    Illustrative image (AI-generated), not the exact product.

    See current photos and price on Amazon →

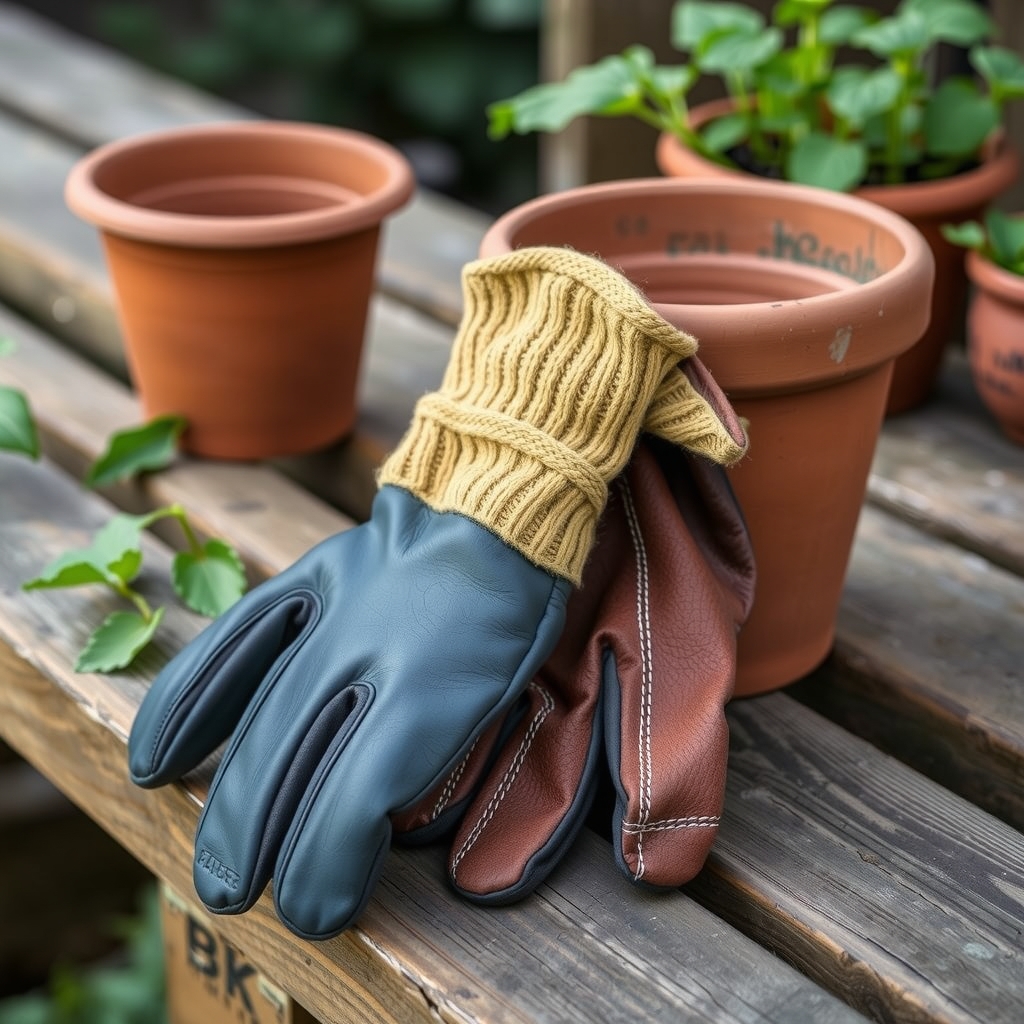
    Gloves are on every expert list, from ISU’s gift guide to Talk of Iowa. This pair has a water-resistant grain cowhide palm for thorny jobs, a stretch spandex back so fingers can still feel seeds and stems, and an adjustable wrist closure that keeps soil out. Note that it is cut for women’s hands, so check the size chart on the listing.

    Check the Wells Lamont gloves on Amazon

    6. For the vegetable grower: AcuRite Magnifying Rain Gauge

    Product pick

    AcuRite 5 in magnifying rain gauge

    Rain gauge in a vegetable garden, illustrative AI image

    Illustrative image (AI-generated), not the exact product.

    See current photos and price on Amazon →

    ISU lists weather instruments like rain gauges among its gift ideas, and a gauge answers the most common summer question: do I need to water today? University of Minnesota Extension says most gardens need about 1 inch of water a week and that a simple rain gauge is how you know whether the rain delivered it. This AcuRite gauge holds 5 inches and has magnified numbers that are easy to read from a few feet away. It costs little, which makes it a good add-on to a bigger gift.

    Check the AcuRite rain gauge on Amazon

    7. For the seed starter: iPower LED Grow Light Strips with Timer

    Product pick

    iPower 20 W LED grow light strips with timer
    LED grow light strips over seedlings, illustrative AI image

    Illustrative image (AI-generated), not the exact product.

    See current photos and price on Amazon →

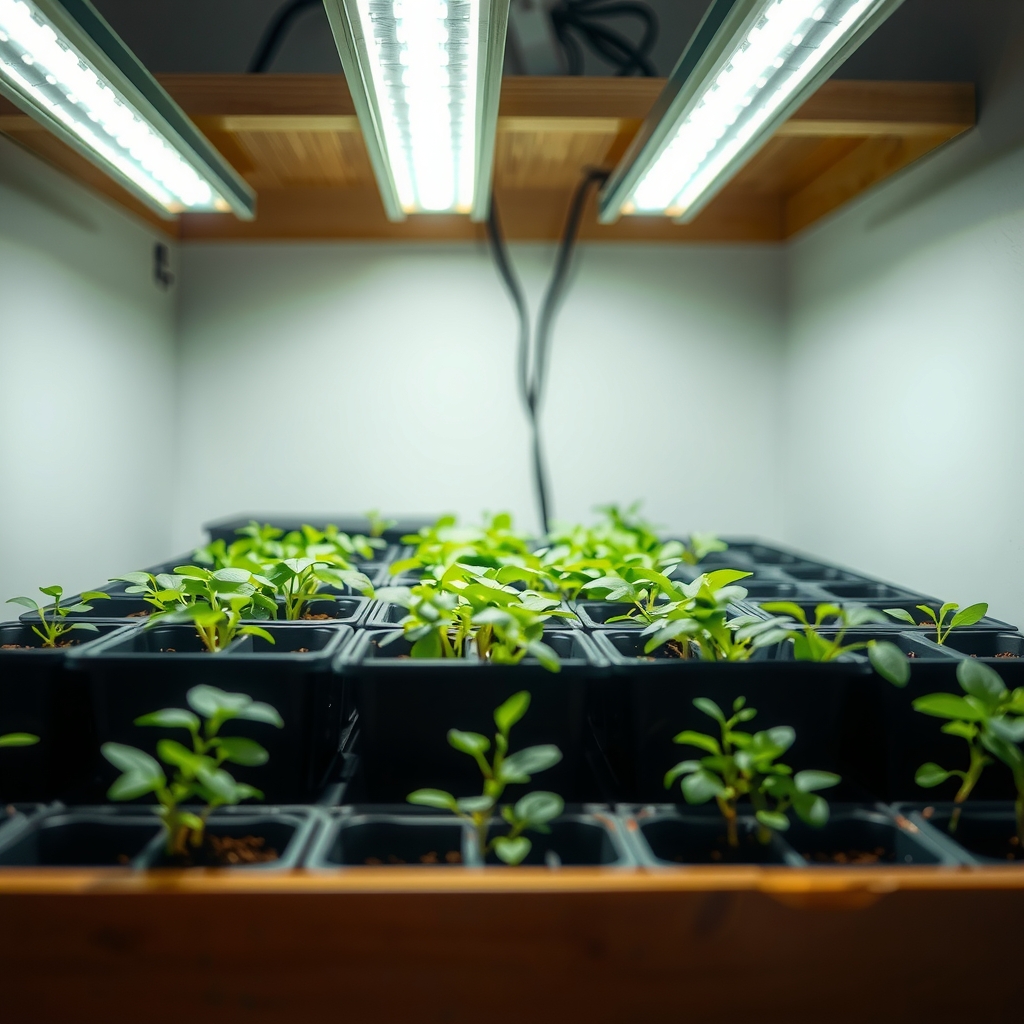
    In Iowa, tomatoes and peppers are started indoors in late winter, and a window rarely gives seedlings enough light. ISU lists grow lights for starting seeds among its gift ideas. These iPower strips mount under a shelf, have 10 brightness levels and a built-in 3, 9 or 12 hour timer. They suit one or two seed trays. For a larger setup, ISU suggests a full-spectrum LED shop fixture with at least 3,000 lumens, hung 8 to 12 inches above the seedlings.

    Check the iPower grow lights on Amazon

    Stocking stuffer: a tool care kit

    One of ISU’s most practical budget ideas is a garden tool care kit. It can be as simple as a file to sharpen shovels and a small bottle of multi-purpose oil for pruner joints, or it can add a wire brush and linseed oil for wooden handles. Put it in a bucket with a bow and it is ready to give. Our garden tool storage guide shows how to use each item before winter.

    Product pick

    Sunnyside pure raw linseed oil, 1 quart

    Oiling a wooden tool handle, illustrative AI image

    Illustrative image (AI-generated), not the exact product.

    See current photos and price on Amazon →

    For the handle-care part of the kit, this quart of Sunnyside pure raw linseed oil is sold by Amazon.com. Raw linseed oil dries more slowly than boiled oil, so tell the recipient to wipe off the excess and let handles dry for a few days. Rags used with linseed oil can heat up and catch fire if balled up, so they should be spread flat to dry or kept in a closed metal can.

    Check the Sunnyside linseed oil on Amazon

    Iowa-only gifts you will not find on Amazon

    Some of the best ideas from ISU experts are local. They suit a gardener who already owns plenty of tools:

    • The ISU Extension garden calendar. Iowa State University Extension and Outreach publishes a garden calendar each year with monthly tips for Iowa gardeners, sold through the ISU Extension Store.
    • A public garden membership. ISU and Talk of Iowa guests suggest memberships to Reiman Gardens in Ames, the Greater Des Moines Botanical Garden or the Iowa Arboretum.
    • Seed Savers Exchange membership. The heirloom seed organization is based in Decorah, Iowa, and a membership was on the ISU experts’ list.
    • Compost delivered in spring. A load of mulch or compost scheduled for April or May is a gift that shows up exactly when it is needed.
    • A local garden center gift certificate. It lets them choose the trees, shrubs or seeds they want once the frost danger passes.

    Conclusion

    The most useful gifts for gardeners are the ones they reach for every week: a forged pruner, a good trowel, a soil knife, gloves and something to save their knees. For the vegetable grower, a rain gauge or a set of grow lights helps from February to August. And if you are unsure, an Iowa garden membership or a gift certificate never misses.

    FAQs

    What is a good gift for a gardener who has everything?
    Try a tool they have not used yet, such as a soil knife, or something local like a Reiman Gardens membership, a Seed Savers Exchange membership or compost delivered in spring.

    Are plants a good gift for gardeners?
    Holiday plants like poinsettias, Christmas cactus and amaryllis are classic gifts. For garden plants, ISU suggests a gift certificate because many gardeners have strong plant preferences.

    What should I look for in garden tools as a gift?
    ISU recommends stainless steel or forged tools for durability and rust resistance, and ergonomic handles for comfort.

    What is a cheap but useful gift for a gardener?
    A rain gauge, a pair of gloves or a tool care kit with a file, oil and a wire brush. All are inexpensive and get used every season.

    When do Iowa gardeners start seeds indoors?
    Many warm-season crops are started indoors in late winter, several weeks before the last spring frost, which averages early May in central and southwest Iowa. Grow lights make a timely December gift for that reason.

    Sources and review scope

    This guide was prepared on October 27, 2026 from the following sources. Homingwell did not perform hands-on testing. Sellers were checked on Amazon.com on the same date.

    Explore more Lawn & Garden buying guides.
  • Garden Tool Storage Ideas for Iowa Winters: Clean, Oil and Hang

    Garden Tool Storage Ideas for Iowa Winters: Clean, Oil and Hang

    Skip to content

    Lawn & Garden • Iowa guide • Updated October 27, 2026

    Garden Tool Storage Ideas for Iowa Winters: Clean, Oil and Hang

    Explore related guides: Gardening in Iowa: all guides · Pet-safe ice melt · Solar lights for cold climates · Best raised beds for Iowa · Gifts for gardeners · Iowa fall cleanup checklist · Winterize raised beds · Best garden trowel · Bypass vs anvil pruners · Gorilla dump cart review · When to prune fruit trees in Iowa · Best loppers for trees and shrubs.

    An Iowa winter is hard on tools left leaning in a damp corner. Wet soil on a blade turns to rust, dry wooden handles crack, and a hose left full of water can split. These garden tool storage ideas walk through how to clean and oil tools before winter, then where to put each item, from shovels and hoses to seeds, chemicals and the mower.

    Garden tool storage ideas: rakes, shovels and tools hanging on a wall rack in a garage
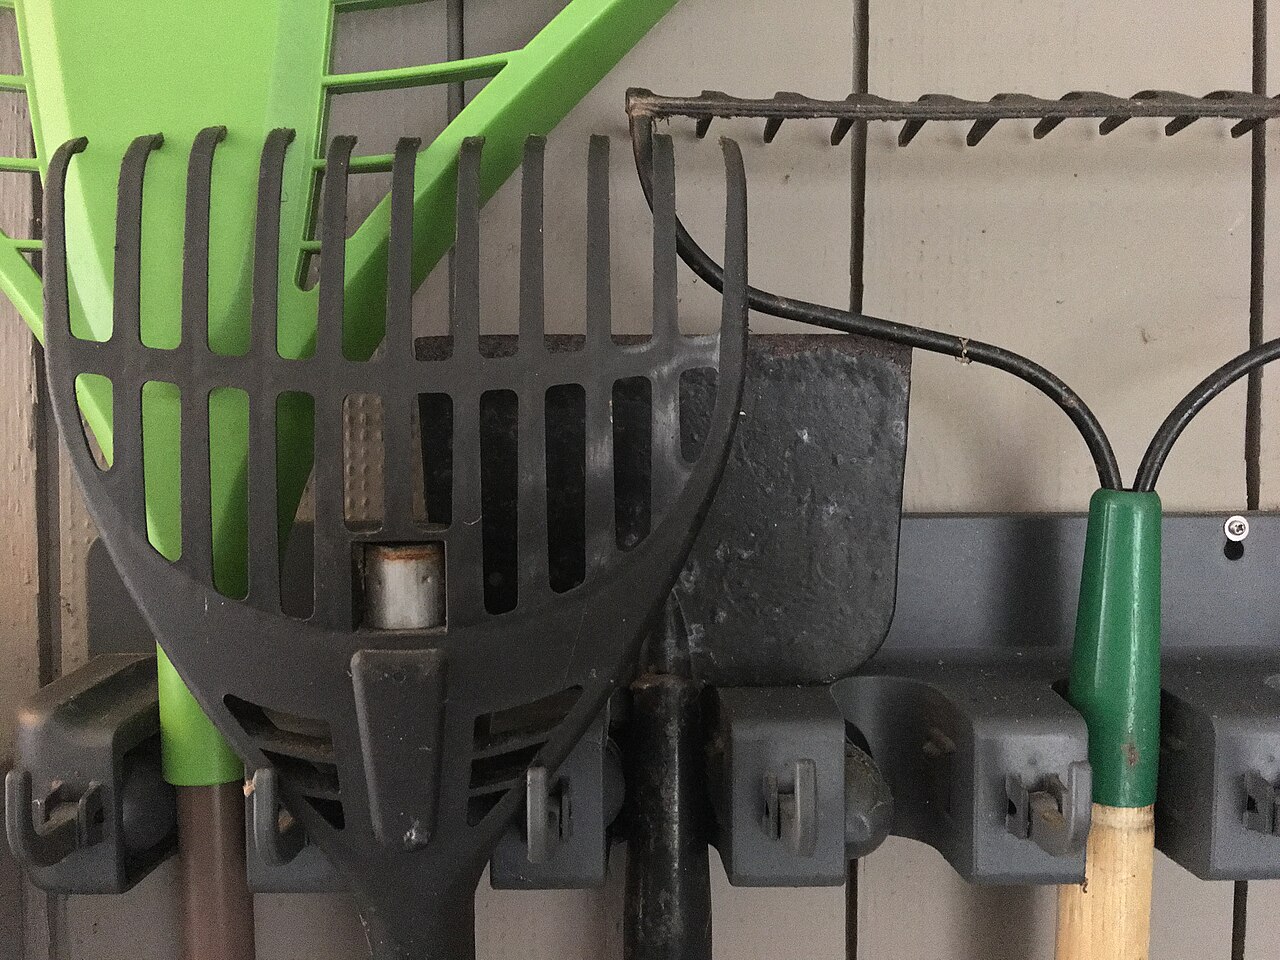
    Long-handled tools hung on a wall rack stay dry and off the floor. Photo: MarkBuckawicki, CC0, via Wikimedia Commons.

    The short answer

    Clean the soil off every tool, dry it, sharpen the edges and wipe the metal with an oily rag. Rub wooden handles with linseed oil. Then hang tools on a wall rack in a dry garage or shed, drain and coil hoses, keep liquid chemicals where they will not freeze, and store leftover seeds sealed in a cool spot.

    Before you store: clean, sharpen and oil

    Iowa State University Extension recommends this routine for shovels, spades, hoes and rakes, and says good care makes tools last longer and work better:

    1. Scrape off soil. Use a wire brush or a stiff putty knife on caked-on dirt.
    2. Wash and dry. Rinse with a strong spray of water, then let the tools dry completely.
    3. Sharpen. Put an edge back on hoes, shovels and spades.
    4. Protect the metal. Wipe metal parts with an oily rag or spray them with WD-40.
    5. Treat the handles. Sand rough wooden handles smooth and rub them with linseed oil so they do not dry out and crack.

    Pruners need the same care. Clean sap off the blades and oil the pivot; our bypass vs anvil pruner guide covers how each type is built. For hand tools, see our best garden trowel guide.

    Garden tool storage ideas for winter

    1. Hang long-handled tools on a wall rack

    ISU’s last step is simple: hang the tools or keep them in a dry place. A wall-mounted rack keeps shovels, rakes and hoes off a cold, damp floor, stops them from falling over, and lets you see at a glance what you have. Group tools by season so the winter items, like snow shovels, sit in front.

    2. Give hand tools a shelf or bin

    Trowels, pruners, gloves and twine are easy to lose over winter. Keep them together in a labeled bin on a shelf, not on the floor. Make sure everything is dry before the lid goes on.

    3. Drain hoses and store them flat or on a reel

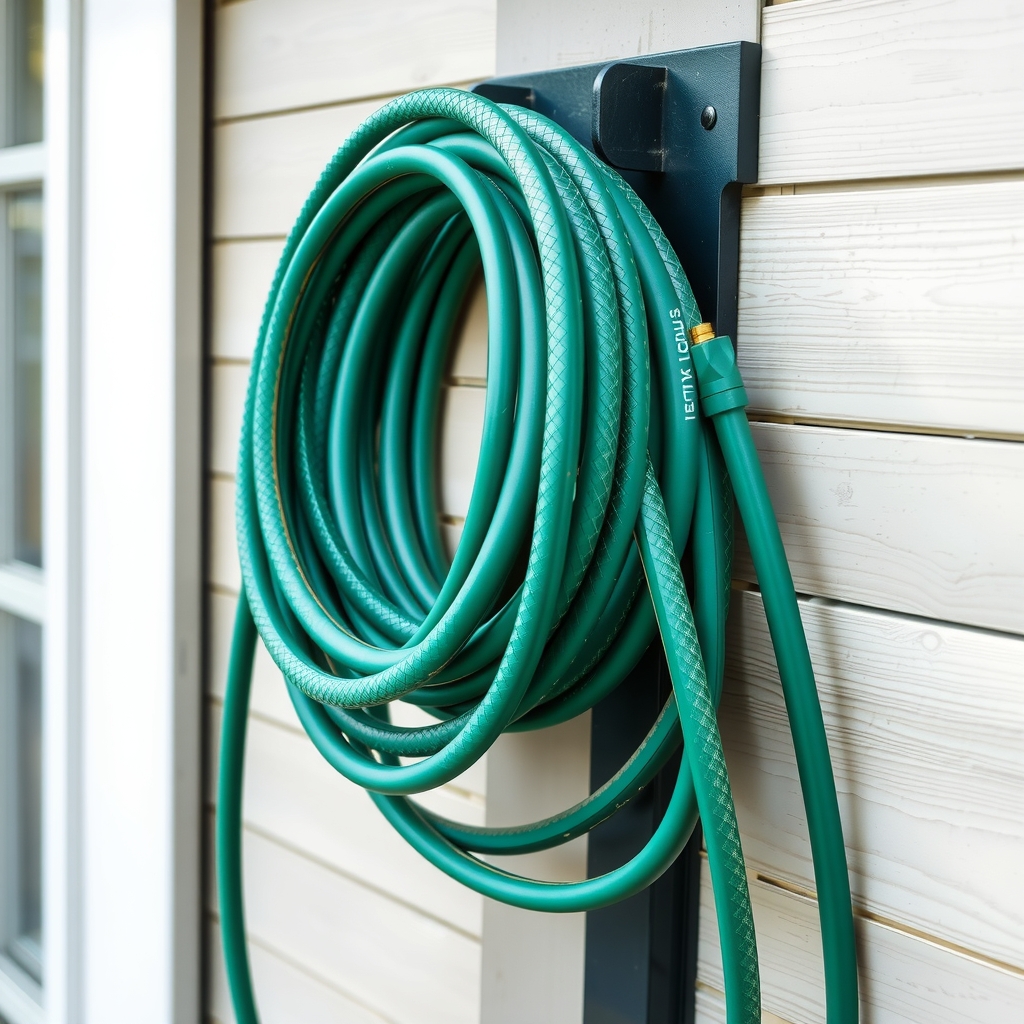
    Drain all the water out of garden hoses, then store them on a reel or coil them and lay them flat to prevent kinks, as ISU advises. A wall hanger in the garage keeps a coiled hose off the floor and out of the way.

    4. Put chemicals and fertilizer on a high, dry shelf

    • Pesticides: keep them in their original containers, in a cool, dry place out of reach of children and pets, ideally a locked cabinet. Do not let liquids freeze: freezing can reduce how well they work and can crack containers. Keep granular products dry so they do not cake.
    • Fertilizer: keep it in the original bag so you know what it is next spring. Put opened bags of granular fertilizer inside a five-gallon bucket with a tight lid.
    • Check the label. Each product lists its own storage temperatures. In an unheated Iowa garage, liquids that must not freeze may need to come inside.

    5. Seal leftover seeds and keep them cool

    ISU says many vegetable and flower seeds stay viable for two to three years when stored well. Fold the open packets, put them in a tightly sealed jar, add a small envelope with one to two tablespoons of powdered milk to absorb moisture, and keep the jar in the refrigerator or another cool spot.

    6. Prepare the mower and gas equipment

    Briggs & Stratton lists five steps before winter: add fuel stabilizer and run the engine so it reaches the carburetor, change the oil, remove and clean the battery if there is one, clean grass and dirt from the deck, and store the mower in a cool, dry place. Oklahoma State University Extension adds that exposed metal can get a light coat of oil against rust. Follow your own engine manual first.

    7. Clean the garden cart and stand it on end

    Hose the soil out of the cart bed, let it dry, and stand it on end or hang it to save floor space. See our Gorilla dump cart review and best garden cart guide for more on cart care.

    Winter storage checklist

    What to do with each item before an Iowa winter
    ItemBefore storingWhere to keep it
    Shovels, spades, hoes, rakesScrape, wash, dry, sharpen, oil metalHanging on a wall rack, dry
    Wooden handlesSand rough spots, rub with linseed oilOff the floor
    Pruners and hand toolsClean sap, oil the pivotLabeled bin on a shelf
    Garden hosesDrain all waterOn a reel or coiled flat
    Liquid pesticidesKeep in original containerCool, dry, locked, where they will not freeze
    Granular fertilizerKeep in original bagInside a lidded 5-gallon bucket, dry
    Leftover seedsSeal in a jar with a powdered-milk packetRefrigerator or other cool spot
    Gas mowerFuel stabilizer, oil change, clean deckCool, dry garage or shed

    Safety note: linseed oil rags

    Products that make winter storage easier

    You may already have most of what you need. If not, these fit the storage ideas above.

    For long-handled tools: VEVOR 66 in Wall-Mount Garden Tool Rack

    Product pick

    VEVOR 66 in wall-mount garden tool rack

    Garden tools on a wall rack, illustrative AI image

    Illustrative image (AI-generated), not the exact product.

    See current photos and price on Amazon →

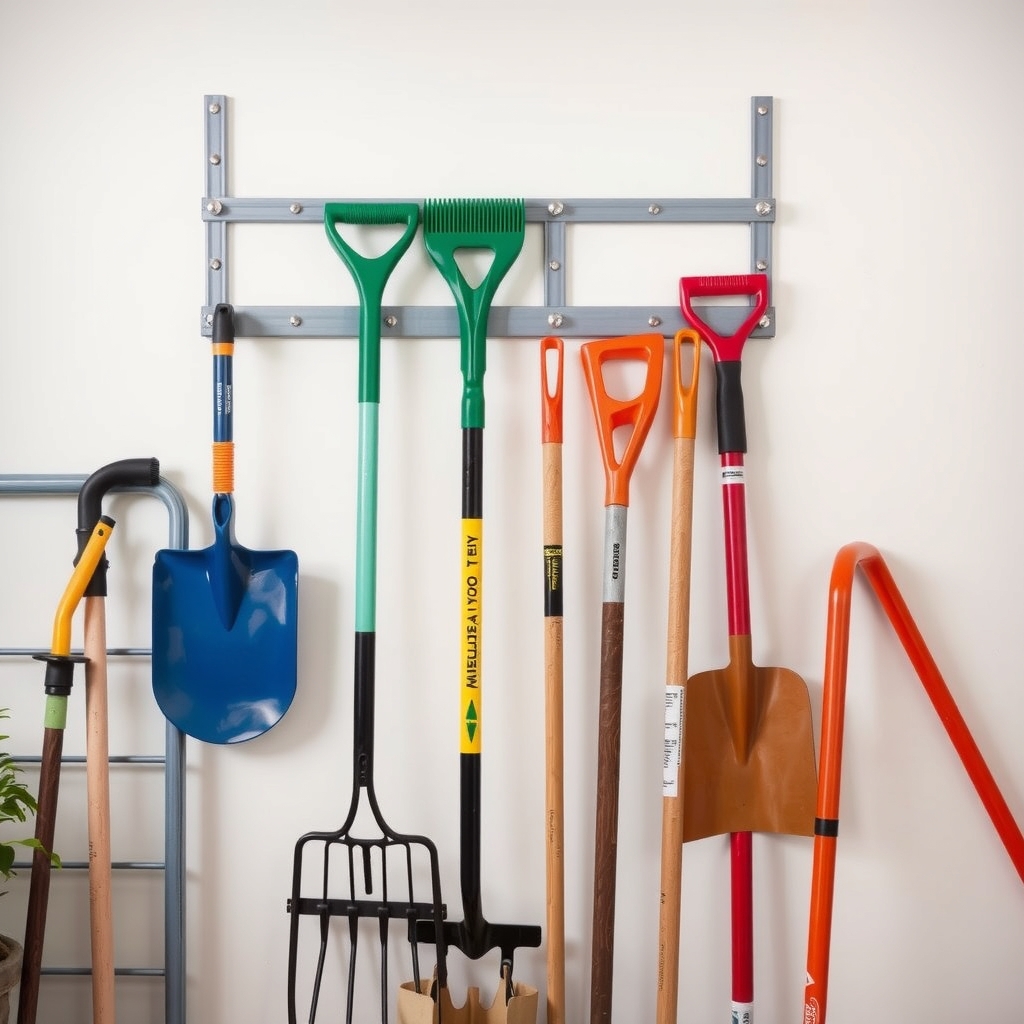
    A carbon-steel rail system with rubber-coated hooks for shovels, rakes, brooms and even a ladder. The listing rates each rail at up to 200 lb (800 lb total) and includes anchors for drywall, concrete, brick and wood. Screw it into studs in a garage or shed and your long tools hang dry and off the floor all winter.

    Check the VEVOR tool rack on Amazon

    For wooden handles: Sunnyside Pure Raw Linseed Oil

    Product pick

    Sunnyside pure raw linseed oil, 1 quart

    Oiling a wooden tool handle, illustrative AI image

    Illustrative image (AI-generated), not the exact product.

    See current photos and price on Amazon →

    A quart of pure raw linseed oil for sanded wooden handles, the treatment ISU suggests. Raw oil has no added drying agents, so it soaks in well but dries more slowly than boiled linseed oil. Rub on a thin coat, wipe off the excess after about 30 minutes and let the handles dry for a few days before you hang them. Read the safety note above before you start.

    Check the Sunnyside linseed oil on Amazon

    For hoses: Suncast 150 ft Hose Hangout

    Product pick

    Suncast 150 ft Hose Hangout

    Hose on a wall holder, illustrative AI image

    Illustrative image (AI-generated), not the exact product.

    See current photos and price on Amazon →

    A resin wall-mounted hose holder that fits up to 150 ft of 5/8 in hose, with an enclosed compartment for nozzles and sprayers so they do not go missing over winter. It comes ready to hang. Mounted inside a garage or shed, it gives a drained hose a dry place to wait for spring.

    Check the Suncast Hose Hangout on Amazon

    Conclusion

    Good winter storage is mostly about water and cold. Get the soil and moisture off your tools, protect metal with oil and handles with linseed oil, then hang everything in a dry place. Drain the hoses, keep liquids from freezing, and stabilize the mower’s fuel. Come spring in Iowa, your tools will be clean, sharp and ready to go.

    FAQs

    Can I store garden tools in an unheated garage in Iowa?
    Yes, if they are clean, dry and oiled. Cold does not hurt a clean shovel; moisture does. Keep them off the floor on a rack. Liquid chemicals are the exception if their label says not to let them freeze.

    What oil should I use on garden tools?
    ISU suggests wiping metal parts with an oily rag or spraying them with WD-40, and treating wooden handles with linseed oil.

    How do I store a garden hose for winter?
    Drain all the water, then store it on a reel or coiled flat to prevent kinks. A dry garage or shed is a good spot.

    How long do leftover seeds last?
    Many vegetable and flower seeds stay viable for two to three years when kept cool and dry in a sealed container.

    Do I need fuel stabilizer for my mower over winter?
    Briggs & Stratton recommends adding stabilizer and running the engine so treated fuel reaches the carburetor. Check your engine manual.

    Sources and review scope

    This guide was prepared on October 27, 2026 from the following sources. Homingwell did not perform hands-on testing.

    Explore more Lawn & Garden buying guides.
  • How to Winterize Raised Garden Beds in Iowa: A Step-by-Step Guide

    How to Winterize Raised Garden Beds in Iowa: A Step-by-Step Guide

    Skip to content

    Lawn & Garden • Iowa guide • Updated October 27, 2026

    How to Winterize Raised Garden Beds in Iowa: A Step-by-Step Guide

    Explore related guides: Gardening in Iowa: all guides · Pet-safe ice melt · When to plant garlic in Iowa · Solar lights for cold climates · When to plant tomatoes in Iowa · Best raised beds for Iowa · When to start seeds in Iowa · Garden tool storage ideas · Iowa fall cleanup checklist · Raised garden bed size · Raised garden bed review · Best garden carts · Gorilla dump cart review.

    Raised beds warm up fast in spring, but the same thing works against them in winter: the soil sits above ground, so it gets colder than a regular garden bed. To winterize raised garden beds in Iowa, you clear the spent plants, feed the soil, and then put a thick blanket of mulch or a row cover on top at the right time. Here is how to do each step, with Iowa timing.

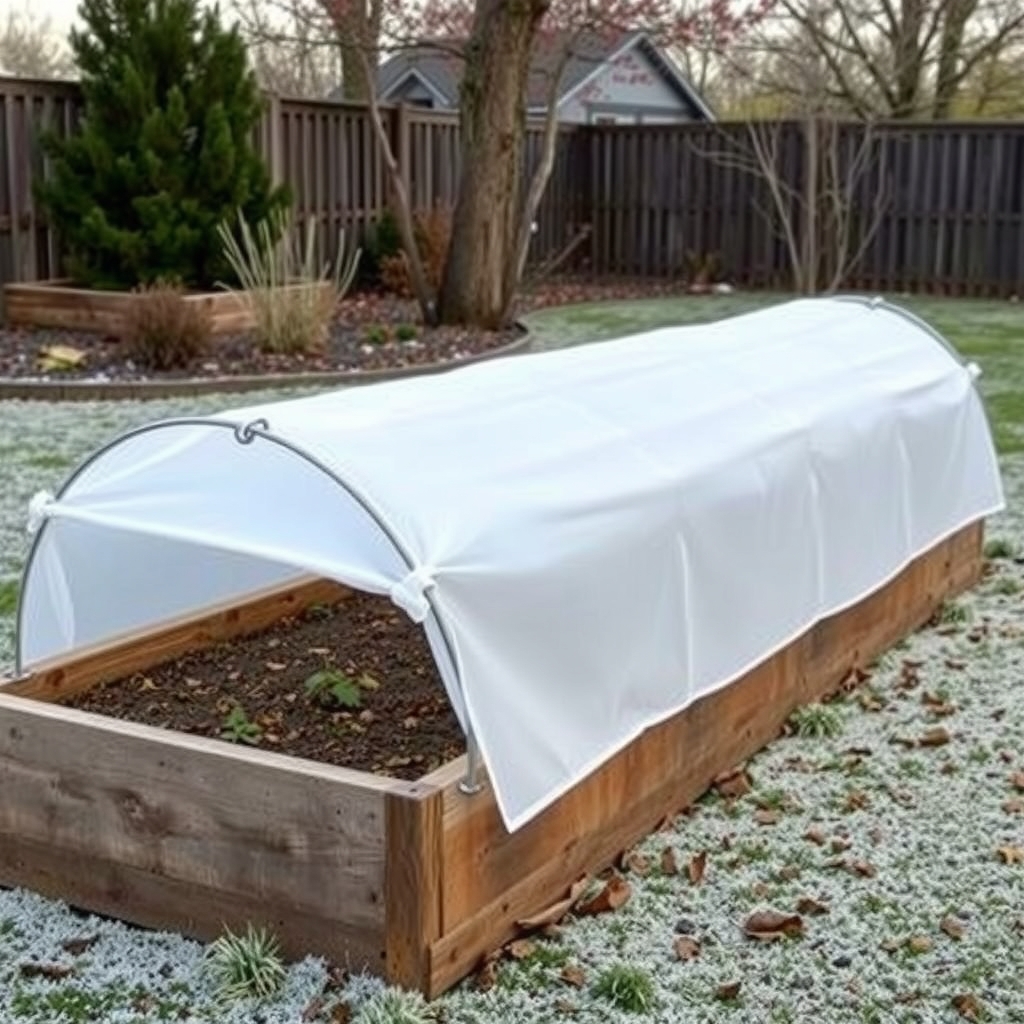
    How to winterize raised garden beds: a bed under a plastic hoop tunnel with straw mulch in late November
    A raised bed in late November with straw mulch and a hoop cover. Photo: Lance Cheung, USDA (public domain), via Wikimedia Commons.

    The short answer

    After the first frost, pull out spent vegetable plants and add compost to the bed. Plant garlic in October if you want a crop next summer. Once plants have hardened off and the weather turns consistently cold, usually in November in Iowa, cover planted beds with 4 to 8 inches of weed-free straw. For beds with crops you still want to protect, use a breathable row cover on hoops instead of plastic sheeting.

    Why raised beds need extra winter protection

    Iowa State University Extension notes that temperatures in raised beds can be several degrees colder in winter than in ground-level plantings. The soil in a raised bed is exposed on the sides as well as the top. That is why ISU recommends 6 to 8 inches of straw for strawberries growing in raised beds, compared with 3 to 5 inches for strawberries planted at ground level.

    The other winter risk is freeze-thaw. Repeated freezing and thawing of the soil can push shallow-rooted plants up out of the ground, a problem called frost heaving. Mulch slows those swings by keeping the soil temperature steadier.

    When to winterize raised beds in Iowa

    Iowa’s first fall frost usually arrives between September 30 and October 15, according to ISU Extension. Our Iowa fall cleanup checklist has average frost dates for Ames and Creston.

    Raised bed winter tasks and Iowa timing
    TaskWhen in IowaNotes
    Sow oats or peas as a cover cropLate August to early SeptemberBoth die over winter and rake off easily in spring
    Sow winter rye as a cover cropLater in fall, after harvestHardier; grows again in spring
    Clear spent vegetable plantsAfter the first frostMany diseases overwinter on old plant debris
    Add compost or well-rotted manureFallISU calls fall the preferred time to add organic matter
    Plant garlicOctober to early NovemberUse garden-center cloves, not grocery-store garlic
    Mulch garlicNovember4 to 6 inches of weed-free straw
    Mulch strawberriesEarly Nov (north), mid-Nov (central), late Nov (south)6 to 8 inches in raised beds
    Mulch perennials that heaveAfter the ground freezes, usually by late NovemberAbout 4 inches over the crown

    How to winterize raised garden beds, step by step

    1. Clear out spent crops. After frost, remove tomato, squash and bean plants, fallen fruit and diseased leaves. Bag anything that was sick rather than composting it. See the full fall cleanup checklist for what to leave.
    2. Test the soil. ISU suggests sending a soil sample to a lab in fall or early spring, so you know what to add before planting.
    3. Add organic matter. Spread compost or well-rotted manure over the bed. Raised beds settle every year, and fall additions have time to partly break down before spring.
    4. Plant something, or cover the soil. Plant garlic in October, or sow a cover crop if it is still early enough. Otherwise, plan to mulch the bare soil.
    5. Mulch at the right time. Wait until plants have hardened off to the cold. Mulching too early can keep plants from going dormant.
    6. Cover crops you want to protect. Use a floating row cover on hoops for greens or other crops you are still harvesting.
    7. Check the bed itself. Tighten loose corners, clear drainage gaps and store any irrigation hoses so they do not crack.

    Best mulch for raised beds in winter

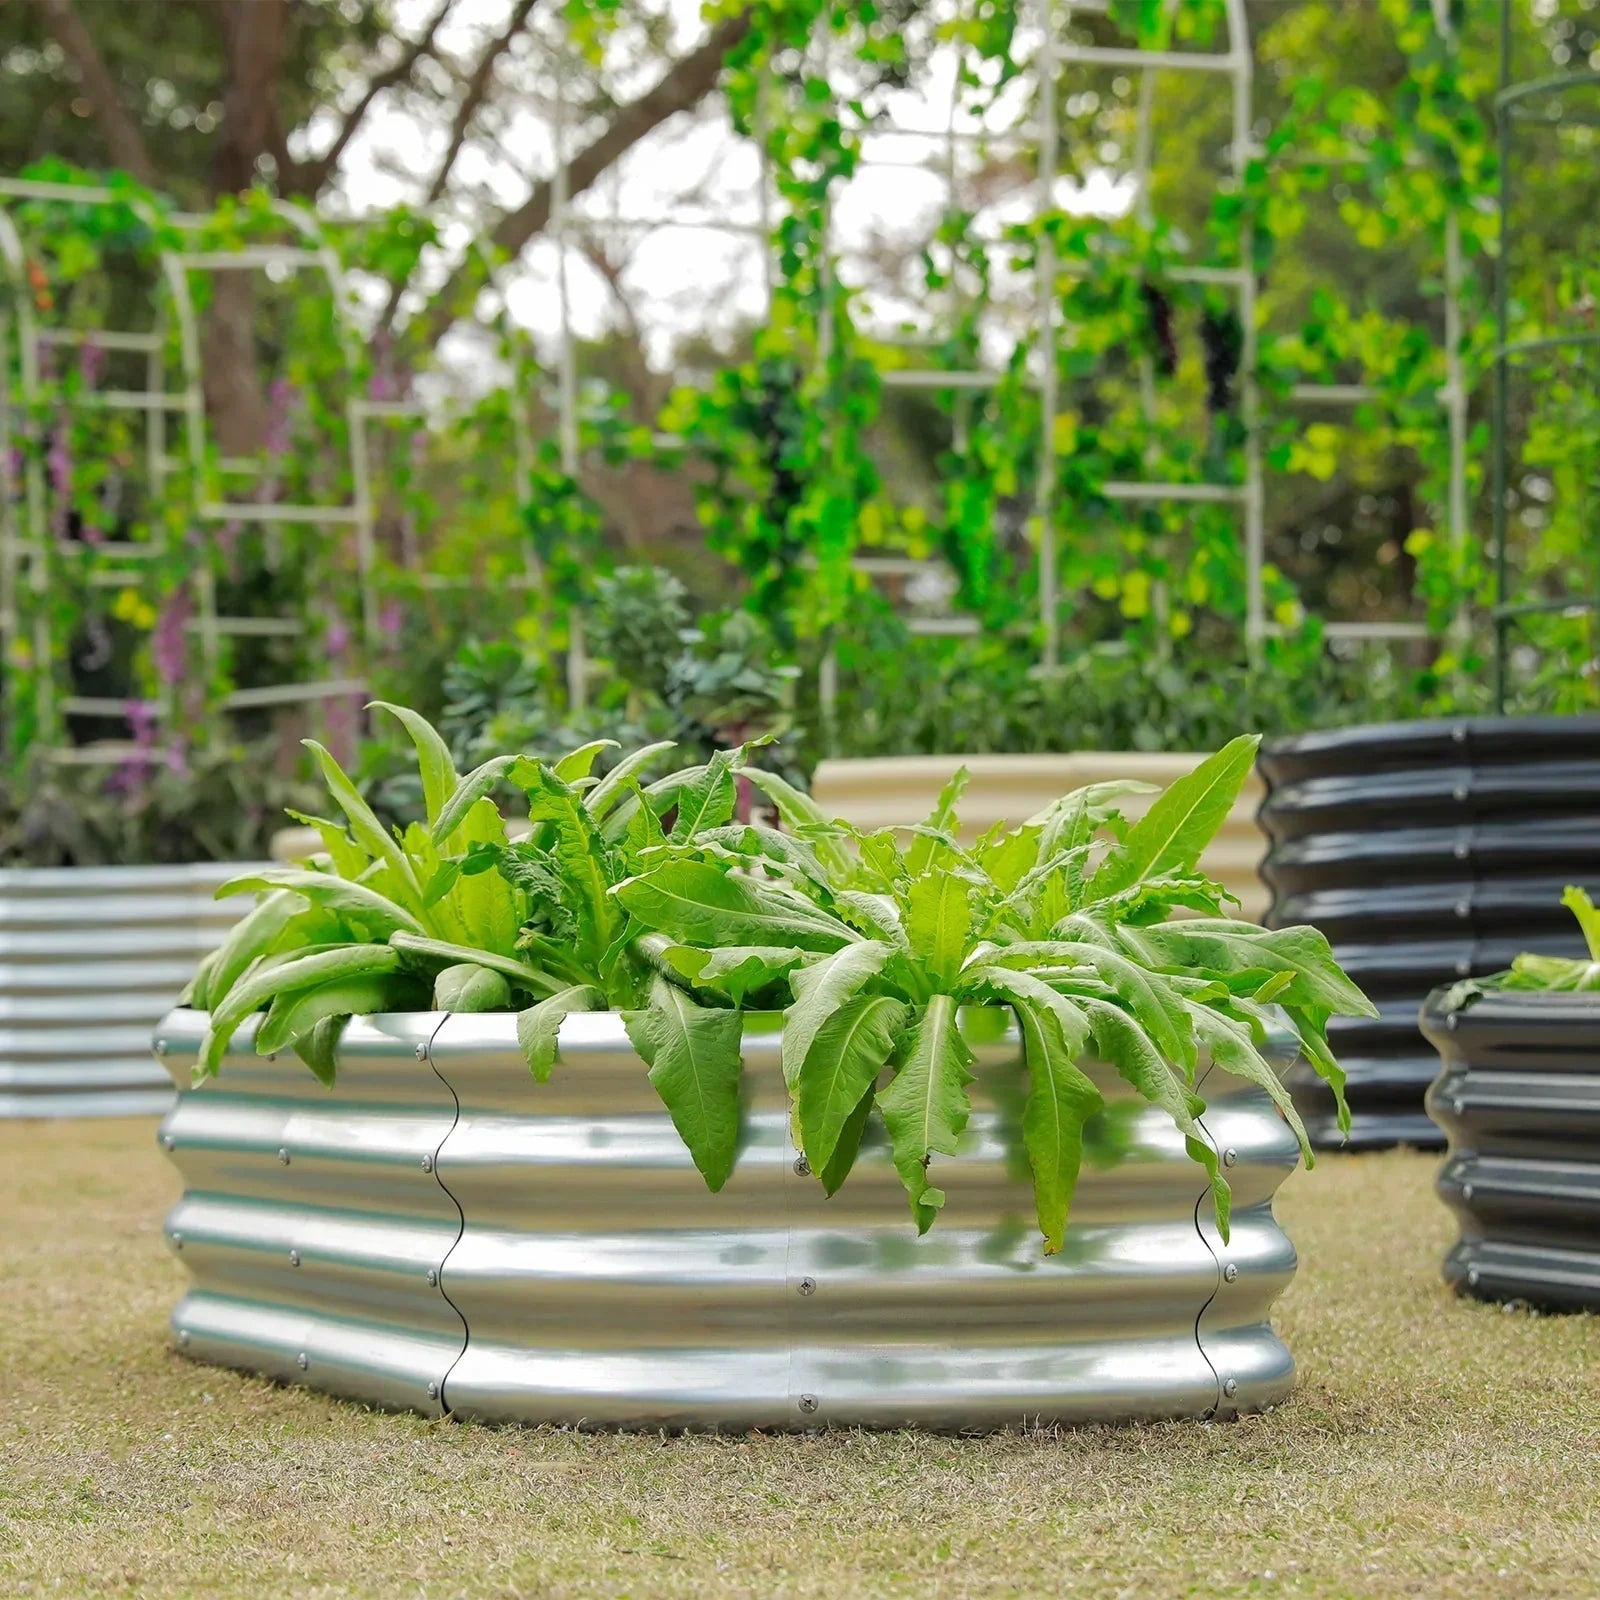
    Silver oval raised garden bed filled with leafy vegetables
    Before winter, clear spent crops and top up the soil. Planning a new bed? See our raised garden bed size guide.
    • Straw: ISU names clean, weed-free oat, wheat or soybean straw as an excellent winter mulch. It stays loose and insulates well.
    • Chopped corn stalks: another option ISU lists, though harder to find in town.
    • Leaves: fine as organic matter worked into empty beds, but ISU warns that whole leaves can mat down over plants like strawberries and trap ice. Shred them first, or use straw over crops.
    • Keep it in place: in windy, exposed yards, ISU suggests laying wire or plastic fencing over the straw and weighing it down with bricks.

    In spring, rake the straw off planted crops into the paths as growth starts, and work the rest into the soil.

    Row covers and hoops for raised beds

    Floating row covers are spun polypropylene or polyester fabrics that let light, air and water through. The University of Maryland Extension groups them by weight:

    Row cover weights and frost protection (University of Maryland Extension)
    WeightLight passing throughFrost protectionBest use
    Light, about 0.45 oz/sq yd90 to 95%About 2°FInsect barrier
    Medium, 0.5 to 1.0 oz/sq yd70 to 85%4 to 6°FSpring and fall crops
    Heavy, 1.5 to 2.2 oz/sq yd30 to 50%Up to 8°FOverwintering crops

    For an Iowa raised bed, a heavy cover held up on hoops works better than fabric resting on the plants, especially once snow arrives. Avoid sealing a bed under clear plastic sheeting: an ISU Extension horticulturist advised against it for overwintering garlic, because it causes wide temperature swings that can bring plants out of dormancy too early.

    Tools that make winterizing easier

    You may already have what you need. If not, these are the items that fit the steps above.

    For frost protection: Valibe 0.9 oz Floating Row Cover

    Product pick

    Valibe 0.9 oz floating row cover, 10 x 30 ft

    Row cover on a raised bed, illustrative AI image

    Illustrative image (AI-generated), not the exact product.

    See current photos and price on Amazon →

    A 0.9 oz/sq yd non-woven polypropylene cover in a 10 x 30 ft piece that you can cut to fit several raised beds. It lets light, air and water through, and the seller suggests laying it loosely over plants or supporting it on hoops. At 0.9 oz it falls in the medium class in the table above (about 4 to 6°F of frost protection), which suits fall greens and frost nights. For crops you plan to keep through the coldest part of an Iowa winter, add straw mulch underneath or choose a heavier 1.5 oz cover.

    Check the Valibe row cover on Amazon

    For holding the cover up: MAXPACE Fiberglass Hoops

    Product pick

    MAXPACE fiberglass hoop kit (Type L, for beds 2.8 ft wide and up)

    Garden hoops over a raised bed, illustrative AI image

    Illustrative image (AI-generated), not the exact product.

    See current photos and price on Amazon →

    A kit of 25 fiberglass rods, 20 connectors and 16 clips that you join into arches over the bed. This Type L version is sold for beds 2.8 ft wide and up, so check the listing for the right size for narrower beds.

    Check the MAXPACE hoops on Amazon

    For hauling straw and compost: Gorilla Carts Dump Cart with No-Flat Tires

    Product pick

    Gorilla Carts poly dump cart, 4 cu ft, with no-flat tires

    Garden dump cart with leaves, illustrative AI image

    Illustrative image (AI-generated), not the exact product.

    See current photos and price on Amazon →

    A 4 cu ft poly dump cart rated for 600 lb, with no-flat tires, so there is nothing to pump up before a cold-weather job. It saves trips when you move bales of straw, compost or bags of leaves to several beds. For more on Gorilla dump carts, see our Gorilla dump cart review and our best garden cart guide.

    Check the Gorilla dump cart on Amazon

    Conclusion

    Raised beds run colder than the ground in an Iowa winter, so they need more cover, not less. Clear the old crops after frost, add compost while the soil is workable, plant garlic in October, and mulch thickly with straw in November. Use a row cover on hoops for any crop you still want to harvest, and your beds will be ready to plant as soon as spring arrives.

    FAQs

    Should I cover my raised garden bed in winter?
    Yes, if anything is planted in it. Straw mulch protects garlic, strawberries and perennials, and covering bare soil with mulch or a cover crop helps protect it over winter.

    How much mulch does a raised bed need in Iowa?
    ISU recommends 6 to 8 inches of straw for strawberries in raised beds, and 4 to 6 inches of straw over fall-planted garlic. The layer settles as winter goes on.

    When should I mulch raised beds in Iowa?
    Wait until plants have hardened to the cold. For strawberries that is early November in northern Iowa, mid-November in central Iowa and late November in southern Iowa. Perennials prone to heaving get mulch after the ground freezes.

    Can I use leaves instead of straw?
    Shredded leaves are useful organic matter for empty beds. Over plants, ISU prefers straw, because whole leaves can mat down and trap ice.

    Should I put plastic over my raised beds for winter?
    It is best not to seal plants under clear plastic. It heats up on sunny days and swings back down at night, which can break dormancy too early. A breathable row cover is safer.

    Sources and review scope

    This guide was prepared on October 27, 2026 from the following sources. Homingwell did not perform field testing.

    Explore more Lawn & Garden buying guides.
  • Fall Garden Cleanup Checklist for Iowa Yards: What to Clear, What to Leave

    Fall Garden Cleanup Checklist for Iowa Yards: What to Clear, What to Leave

    Skip to content

    Lawn & Garden • Iowa guide • Updated October 27, 2026

    Fall Garden Cleanup Checklist for Iowa Yards: What to Clear, What to Leave

    Explore related guides: Gardening in Iowa: all guides · Compost bins for cold climates · Pet-safe ice melt · When to plant garlic in Iowa · Solar lights for cold climates · When to plant tomatoes in Iowa · Best raised beds for Iowa · Garden tool storage ideas · Best garden carts · Bypass vs anvil pruners · Raised garden bed size · Gorilla dump cart review · Fiskars Ergo trowel review · When to fertilize your lawn in Iowa · When to plant tulip bulbs in Iowa · When to prune fruit trees in Iowa.

    Fall cleanup in Iowa is less about making every bed bare and more about choosing what to remove. Iowa State University Extension now recommends leaving healthy perennial stems in place over winter, while clearing diseased plants, vegetable debris and leaves that smother the lawn. This fall garden cleanup checklist sorts each job by area and timing, using Iowa frost dates.

    Red and yellow maple leaves in autumn in Iowa, the start of the fall garden cleanup checklist
    Fall color in Iowa, late October. Once the leaves drop, it is time for cleanup. Photo: Matt Turner, CC BY 2.0, via Wikimedia Commons.

    The short answer: leave what is healthy, remove what is sick

    Perennial beds do not need to be cut to the ground after the first freeze. Healthy stems, seed heads and leaves protect plant crowns, catch blowing leaves as extra insulation, and shelter pollinators, beneficial insects and birds through winter. The exceptions are plants that had disease or insect problems this summer, aggressive self-seeders, and anything in the vegetable garden. Those are the jobs worth doing now.

    When to do fall garden cleanup in Iowa

    Use frost as your cue, not the calendar alone. In central and southwest Iowa, the average first fall frost arrives around the start of October, and the 2023 USDA hardiness map puts nearly all of Iowa in Zone 5, with small southwest and southeast areas now in Zone 6a.

    Average frost dates for two Iowa locations (30% probability, 1991–2020 NOAA normals)
    LocationLast spring frostFirst fall frostGrowing season
    Creston (Southwest Iowa)About May 3About Oct 4153 days
    Ames (Central Iowa)About May 2About Oct 2152 days
    Fall and winter cleanup timing in Iowa
    TaskWhenWhy
    Clear vegetable bedsAfter the first frostDisease and pests overwinter in debris
    Remove diseased perennial and shrub leavesAfter plants die backReduces next year’s infection
    Mulch-mow or rake lawn leavesOften, while the leaf layer is thin and dryMatted leaves block light from the grass
    Cut back healthy perennials (optional)November, after a hard freeze, or wait until early springLeaving them supports overwintering insects
    Mulch over shallow-rooted perennialsAfter the ground freezes, typically by late NovemberLimits frost heaving
    Cut back ornamental grassesAprilThey add winter structure and movement

    Fall garden cleanup checklist by area

    Perennial beds

    • Leave healthy stems, leaves and seed heads standing until early spring.
    • Remove and bag foliage from plants that had disease or pests this year, such as powdery mildew on bee balm or phlox, or borers in iris.
    • Deadhead heavy self-seeders before seed drops, if you don’t want seedlings everywhere next spring.
    • Rake leaves off the crowns of perennials if they pile up thickly, and use them around the plants instead.
    • After the ground freezes, add about 4 inches of mulch over shallow-rooted perennials that tend to heave.

    Vegetable garden

    Silver oval raised garden bed filled with leafy vegetables
    Vegetable beds are the one area to clear fully after frost. Planning a new bed for spring? See our raised garden bed size guide.
    • After the first frost, remove spent plants, stems, leaves and fallen fruit.
    • Clean tomato cages and stakes before storing them.
    • Cover bare soil with mulch or plant a cover crop to reduce weeds and erosion over winter.
    • Note what struggled this year so you can rotate crops and choose resistant varieties next spring.

    Lawn

    • Mow over thin layers of dry leaves with a mulching mower until little debris is visible.
    • Where the leaves hide the grass completely, rake, blow or bag them, then compost them or use them as mulch.
    • Mow several times as leaves fall instead of waiting for one heavy layer, especially under maples and oaks.

    Fruit trees and berries

    • Pick up fallen apples, pears and cherries to reduce codling moth and apple maggot.
    • Rake and discard leaves from trees that had apple scab.
    • Remove diseased raspberry canes; keep healthy asparagus and rhubarb foliage in place for winter protection.

    Annuals and containers

    • Pull annuals after frost, since they won’t overwinter.
    • Empty, clean and store containers indoors so they don’t crack in freeze-thaw cycles.
    • Dig tender bulbs and perennials and bring them inside before a hard freeze.

    Tools, hoses and the cart

    • Scrape caked soil off shovels, spades and rakes, wash and dry them.
    • Sharpen blades and wipe metal with an oily rag to prevent rust.
    • Sand rough wooden handles and rub them with linseed oil.
    • Drain garden hoses and store them indoors, coiled flat or on a reel.
    • Clean the garden cart, touch up paint chips and grease the wheels.
    • Store pesticides and fertilizers in their original containers somewhere that stays above 40°F.

    Compost or discard?

    Healthy leaves and plant debris are excellent compost and mulch. Diseased material and weed seed heads are different: a pile must reach about 140°F to kill most pathogens, and most backyard piles never get that hot. Bag diseased debris for disposal or send it to a municipal compost site, which usually runs hotter. Check your city’s yard-waste rules too; some Iowa towns do not allow leaves to be raked into the street.

    Tools that make fall cleanup easier

    You don’t need new equipment for fall cleanup. If a tool is missing or worn out, these are the items we have already researched for Homingwell readers.

    For hauling leaves and debris: Gorilla Carts Poly Dump Cart

    Product pick

    Gorilla Carts GOR4PS poly garden dump cart

    Garden dump cart with leaves, illustrative AI image

    Illustrative image (AI-generated), not the exact product.

    See current photos and price on Amazon →

    A 4 cu ft, 600 lb-rated pull cart with a dump bed, for moving leaves, mulch and bagged debris to the compost pile. See our Gorilla dump cart review and our best garden cart guide.

    Check the Gorilla Carts model on Amazon

    For cutting diseased stems: Fiskars Bypass Pruning Shears

    Product pick

    Fiskars bypass pruning shears

    Bypass hand pruners, illustrative AI image

    Illustrative image (AI-generated), not the exact product.

    See current photos and price on Amazon →

    Bypass pruners make clean cuts on living stems when you remove diseased growth. Wipe the blades between plants. Compare blade types in our bypass vs anvil pruner guide.

    Check the Fiskars pruners on Amazon

    For lifting bulbs: Fiskars Ergo Garden Trowel

    A hand trowel for lifting tender bulbs and tidying container soil before storage. Read our Fiskars Ergo trowel review · When to fertilize your lawn in Iowa · When to plant tulip bulbs in Iowa · When to prune fruit trees in Iowa.

    Check the Fiskars trowel on Amazon

    Conclusion

    A good Iowa fall cleanup is selective. Clear the vegetable garden, diseased foliage and leaves that smother the lawn, then leave healthy perennials standing for winter. Clean and store your tools, and you will start spring with less work and fewer pests.

    FAQs

    Should I cut back perennials in the fall in Iowa?
    Not necessarily. Iowa State University Extension recommends leaving healthy perennials standing over winter and cutting them back in early spring. If you prefer a tidy bed, most perennials such as peonies, daylilies and hostas can be cut back in November after a hard freeze. Always remove plants that had disease or insect problems.

    Do I have to rake leaves in Iowa?
    Not always. A thin layer can be chopped with a mulching mower and left on the lawn. A thick layer that hides the grass should be raked or bagged, because it blocks light and can leave dead patches.

    When should I mulch perennials for winter in Iowa?
    After the ground freezes, which is typically by late November in much of Iowa. About 4 inches of mulch over the crown helps shallow-rooted plants resist frost heaving.

    Can I put diseased plants in my compost pile?
    It’s best not to. Most home compost piles don’t reach the roughly 140°F needed to kill most disease organisms. Bag them for disposal, or use a municipal compost facility.

    Sources and review scope

    This guide was prepared on October 27, 2026 from the following sources. Homingwell did not perform field testing.

    Explore more Lawn & Garden buying guides.

  • Best Solar Pathway Lights: How to Choose for Your Yard

    Best Solar Pathway Lights: How to Choose for Your Yard

    Skip to content

    Lawn & Garden • Buying guide • Updated October 23, 2026

    Best Solar Pathway Lights: How to Choose for Your Yard

    Explore related guides: Solar lights for cold climates · Fiskars Ergo trowel review · Fiskars bypass pruning shears · Raised garden bed review · Gorilla dump cart review · Denicmic solar lights review.

    Ever walked a dark garden path and wished you had more light? Solar lights need no wiring and cost nothing to run. Choosing the best solar pathway lights means checking brightness, battery and weather resistance first. Here is how to pick a set that stays lit all night.

    What to look for in the best solar pathway lights

    Homingwell lawn and garden guide: best solar pathway lights
    • Brightness: Path lights are usually rated in lumens. Look for roughly 10 to 50 lumens each for a soft, safe glow.
    • Battery: A larger rechargeable battery runs longer after cloudy days.
    • Solar panel: A bigger, well-positioned panel charges faster.
    • Weather rating: Look for an IP65 or higher rating for rain and dust resistance.
    • Materials: Metal and thick plastic last longer than thin plastic.
    • Light color: Warm white feels cozy. Cool white looks brighter and sharper.

    How far apart to place solar pathway lights

    Space lights about six to eight feet apart for gentle, even lighting. Place them closer at turns, steps and junctions. Stagger them on both sides of a wide path. Keep the panel in direct sun for six to eight hours a day.

    When to buy and how long they last

    Spring is the best time to buy, before long evenings return. Quality lights last several seasons. Batteries often need replacing after a couple of years, so choose a set with replaceable cells.

    How to choose the best solar pathway lights, step by step

    1. Measure your path. Divide the length by seven feet to estimate how many lights you need.
    2. Check the sunlight. Lights in deep shade will not charge well.
    3. Set a budget. Reliable sets often cost more per light than basic ones.
    4. Compare features. Look at lumens, battery size and weather rating.
    5. Read reviews. See how they hold up after a full season outdoors.

    See a real-world example in our Denicmic solar pathway lights review.

    Where to use them in your garden

    • Along walkways and garden paths.
    • Around a raised garden bed or patio edge.
    • Beside steps, driveways and entrances.
    • Near flower borders for gentle accent lighting.

    Common Mistakes to Avoid With best solar pathway lights

    • Placing lights in shade. They will not fully charge.
    • Spacing them too far apart. The path looks patchy and dark.
    • Ignoring the weather rating. Water damage is the top cause of failure.
    • Forgetting winter. Short, cloudy days reduce run time.

    Care and Maintenance Tips

    A few habits keep your best solar pathway lights choice working for years. Wipe the panels every month for better charging. Replace tired batteries when brightness fades. Trim plants that block the sun, and bring lights indoors in extreme winter if the maker advises it. For general guidance on solar technology, visit U.S. Department of Energy solar resources.

    Conclusion

    The best solar pathway lights balance brightness, battery life and weather protection. Plan your spacing, place the panels in sun, and your garden path will stay safe and welcoming. Explore our garden tool reviews for more yard ideas.

    FAQs

    How bright should solar pathway lights be?
    Roughly 10 to 50 lumens each is enough for most paths.

    How far apart should I place them?
    About six to eight feet apart, closer at turns and steps.

    Do solar lights work in winter?
    Yes, but run time drops with shorter, cloudy days.

    How long do solar light batteries last?
    Often one to three years, depending on quality and use.

    Do solar pathway lights need direct sun?
    Yes. Six to eight hours of direct sunlight gives the best charge.

  • Best Garden Carts for Hauling Soil, Mulch and Plants

    Best Garden Carts for Hauling Soil, Mulch and Plants

    Skip to content

    Lawn & Garden • Buying guide • Updated October 23, 2026

    Best Garden Carts for Hauling Soil, Mulch and Plants

    Explore related guides: Solar lights for cold climates · Best raised beds for Iowa · Fiskars Ergo trowel review · Fiskars bypass pruning shears · Raised garden bed review · Gorilla dump cart review · Denicmic solar lights review.

    Ever made ten trips with a wobbly wheelbarrow and a sore back? The right cart turns heavy yard work into a quick job. Choosing the best garden cart comes down to capacity, tires and how you will use it. Here is what to check before you buy.

    What to look for in the best garden cart

    Product pick

    Gorilla Carts GOR4PS poly garden dump cart

    Garden dump cart with leaves, illustrative AI image

    Illustrative image (AI-generated), not the exact product.

    See current photos and price on Amazon →

    • Capacity: Look for roughly 6 to 10 cubic feet for most yards and a load rating that fits your heaviest jobs.
    • Tires: Pneumatic tires roll easily over rough ground. Flat-free tires never need air but ride firmer.
    • Dump feature: A tilting bed unloads soil and mulch without shoveling.
    • Frame and bed: Steel frames last longest. Poly beds resist rust and wipe clean.
    • Handle: A comfortable, well-positioned grip reduces strain on hills.
    • Weight and size: A lighter cart is easy to move but may carry less.

    Garden cart vs wheelbarrow

    FeatureGarden cartWheelbarrow
    StabilityFour wheels, very stableOne wheel, needs balance
    Load sizeLarger and heavierSmaller loads
    Tight spacesWider turningEasier in narrow paths
    StorageTakes more roomCompact

    When to buy and how long a cart lasts

    Spring and fall are the busiest seasons for mulch and planting, so buy a few weeks ahead. A quality cart lasts many years with basic care. Budget models may crack or bend after a couple of seasons of heavy loads.

    How to choose the best garden cart, step by step

    1. List your loads. Soil, stone and mulch weigh far more than plants.
    2. Check your terrain. Soft or sloped ground favors larger pneumatic tires.
    3. Measure your gates and paths. The cart must fit through them.
    4. Decide on dumping. If you move bulk material often, choose a dump model.
    5. Plan storage. A cart that stands on end saves garage space.

    See how a popular dump model performs in our Gorilla dump cart review.

    Everyday uses in the yard

    • Hauling soil and compost to a raised garden bed.
    • Moving mulch, stone and firewood.
    • Carrying plants, pots and tools around a large yard.
    • Collecting leaves and yard waste in fall.

    Common Mistakes to Avoid With best garden cart

    • Overloading the cart. It strains the axle and tires.
    • Ignoring tire type. Flat tires on a rough yard ruin the day.
    • Buying too big. A huge cart is hard to steer and store.
    • Leaving it in the rain. Moisture damages steel parts over time.

    Care and Maintenance Tips

    A few habits keep your best garden cart choice working for years. Rinse the bed after hauling wet soil. Check tire pressure each spring and oil the wheel bearings. Tighten bolts once a season and store the cart under cover. For safe lifting and yard work tips, see the Arbor Day Foundation planting resources.

    Conclusion

    The best garden cart fits your loads, your terrain and your storage space. Focus on capacity, tires and a dump feature, and you will save time on every project. Compare more options in our garden tool reviews.

    FAQs

    What size garden cart do I need?
    Six to ten cubic feet suits most yards. Choose larger only if you haul bulk material often.

    Are pneumatic or flat-free tires better?
    Pneumatic tires roll more smoothly. Flat-free tires need no maintenance but feel firmer.

    Is a garden cart better than a wheelbarrow?
    For heavy loads and stability, yes. A wheelbarrow is better in narrow paths.

    Can a garden cart carry a heavy load?
    Check the weight rating. Many carts handle several hundred pounds, but never exceed the limit.

    How do I store a garden cart?
    Keep it dry and under cover. Some models stand upright to save space.

  • Raised Garden Bed Size Guide: Best Height, Width, Depth

    Raised Garden Bed Size Guide: Best Height, Width, Depth

    Skip to content

    Lawn & Garden • Buying guide • Updated October 23, 2026

    Raised Garden Bed Size Guide: Best Height, Width, Depth

    Explore related guides: When to plant tomatoes in Iowa · Best raised beds for Iowa · When to start seeds in Iowa · Fiskars Ergo trowel review · Fiskars bypass pruning shears · Raised garden bed review · Gorilla dump cart review · Denicmic solar lights review · How much soil for a raised bed.

    Ever built a bed only to find you cannot reach the middle, or the roots hit a hard floor? Choosing the right raised garden bed size before you build prevents both problems. A well-sized bed means easier planting, healthier roots and bigger harvests. Here are the dimensions that work for most U.S. gardens.

    Best raised garden bed size for most gardens

    Land Guard oval metal raised garden bed planted with vegetables and flowers
    Land Guard 12-inch-tall oval raised garden bed shown in a planted setting. Manufacturer image: Land Guard. Confirm the exact version and finish on the seller listing.

    These numbers suit most home vegetable gardens:

    • Width: Four feet or less. You can reach the center from either side without stepping in the soil.
    • Length: Any length that fits your yard. Eight feet is common and easy to build from standard lumber.
    • Height: Six to twelve inches works for most crops. Taller beds are easier on the back.
    • Depth of soil: At least eight inches for leafy greens and ten to twelve for deeper roots.

    How deep a raised garden bed should be by crop

    Crop typeSuggested soil depth
    Lettuce, spinach, herbs6 to 8 inches
    Beans, peppers, cucumbers8 to 12 inches
    Tomatoes, squash12 to 18 inches
    Carrots, potatoes, parsnips12 inches or more

    If your native soil is loose, roots can grow below the bed. In clay or compacted ground, build higher.

    When to build and how long it lasts

    Build a few weeks before planting so the soil can settle. Early spring and early fall are ideal. Allow a weekend for assembly and a day for filling. Cedar and metal beds last a decade or more, while untreated pine may need replacing sooner.

    How to choose your raised garden bed size, step by step

    1. Measure your space. Mark the area with string and check sun exposure first.
    2. Plan your paths. Leave two to three feet between beds for a cart or wheelbarrow.
    3. Pick the width. Stay at four feet or less. Narrow to three feet if you have limited reach.
    4. Choose the height. Go taller if you want less bending.
    5. Estimate the soil. Multiply length, width and depth in feet to get cubic feet of soil.

    Our Land Guard raised garden bed review shows one ready-made option in real use.

    Silver oval Land Guard raised bed filled with leafy vegetables
    A planted oval raised bed offers a visual example when planning growing space and access. Manufacturer image: Land Guard. Confirm the exact version and finish on the seller listing.

    Filling the bed and moving soil

    A large bed holds a lot of soil. A sturdy cart makes the job much easier, as shown in our Gorilla dump cart review. Mix topsoil, compost and a little aeration material for good drainage and fertility.

    Common Mistakes to Avoid With raised garden bed size

    • Making the bed too wide. You will end up stepping on the soil.
    • Building too shallow. Roots dry out quickly and plants struggle.
    • Forgetting the paths. Tight spacing makes weeding hard.
    • Placing it in shade. Most vegetables need six to eight hours of sun.

    Care and Maintenance Tips

    A few habits keep your raised garden bed size choice working for years. Top up the soil each spring with compost because it settles. Water deeply and mulch to hold moisture. Rotate crops each year to reduce pests. For local planting dates and soil advice, check the University of Minnesota Extension garden guidance.

    Conclusion

    The ideal raised garden bed size is simple: four feet wide, any length, and at least eight to twelve inches deep. Match the depth to your crops, leave room for paths, and your garden will be easier to work and more productive. Explore our garden tool reviews to finish your setup.

    FAQs

    What is the best raised garden bed size for beginners?
    A four by eight foot bed, about ten to twelve inches deep, is a reliable starting point.

    How wide can a raised bed be?
    Four feet is the usual maximum if you can reach from both sides. Use three feet if you can only reach from one side.

    Is a six inch raised bed deep enough?
    It works for lettuce and herbs, but most vegetables do better with eight to twelve inches.

    How much soil does a raised bed need?
    Multiply length by width by depth in feet. A four by eight bed at one foot deep needs about 32 cubic feet.

    Should I put anything under the bed?
    Cardboard or landscape fabric blocks weeds. Leave the bottom open so roots and worms can move freely.

  • Fiskars Bypass Pruning Shears: How They Compare with Anvil Pruners

    Fiskars Bypass Pruning Shears: How They Compare with Anvil Pruners

    Skip to content

    Lawn & Garden • Buying guide • Updated October 24, 2026

    Fiskars Bypass Pruning Shears: How They Compare with Anvil Pruners

    Explore related guides: Gifts for gardeners · Fiskars Ergo trowel review · Fiskars bypass pruning shears · Raised garden bed review · Gorilla dump cart review · Denicmic solar lights review · Best loppers for trees and shrubs · Best pruning shears.

    Considering Fiskars bypass pruning shears for your garden? Ever squeezed a pair of pruners and watched the stem tear instead of cut? The wrong blade style crushes plant tissue and slows healing. Understanding bypass vs anvil pruning shears takes a few minutes and saves your plants, your wrists and your money. Here is how each type works and which one fits your garden.

    Research-based guidance: This guide compares published features and general pruning practice. We have not run side-by-side cutting tests. As an Amazon Associate I earn from qualifying purchases. Product links on this page are affiliate links.

    How Fiskars bypass pruning shears work

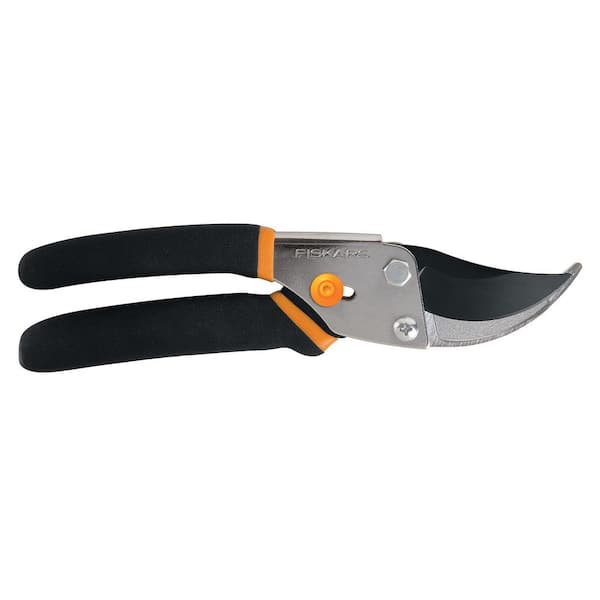
    Fiskars Classic bypass pruning shears
    Fiskars Classic bypass hand pruner, shown as an example of the bypass design. Product image: The Home Depot listing. Check the exact version on Amazon before buying.

    The two designs cut in completely different ways:

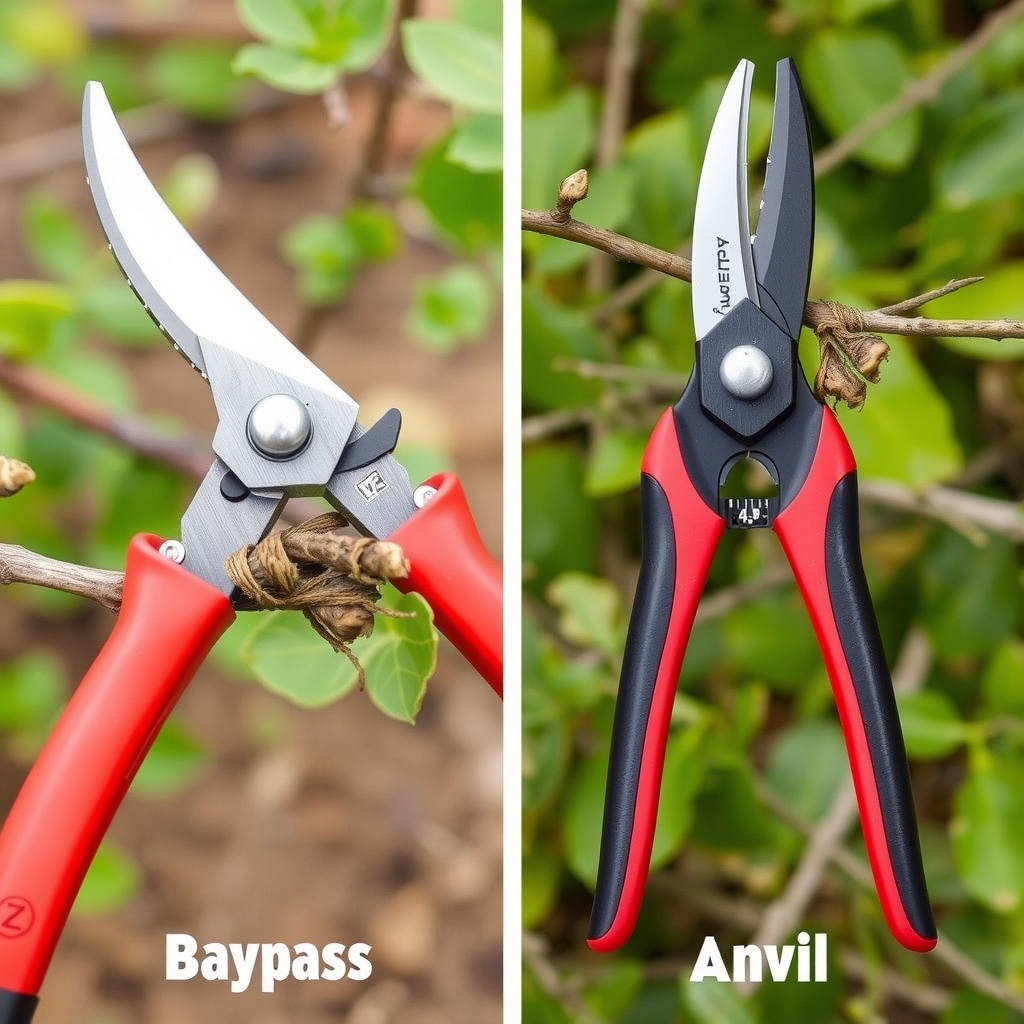
    • Bypass pruners: Two curved blades pass each other like scissors. One blade slices while the other holds the stem steady.
    • Anvil pruners: One sharp blade closes onto a flat, soft surface called the anvil. The motion is closer to a knife on a cutting board.

    Both styles come in hand-held sizes. The blade design is what changes the result on the plant.

    Fiskars bypass pruning shears for live stems

    This is the most useful rule to remember.

    • Live, green stems: Choose bypass. The scissor action makes a clean cut that heals quickly.
    • Dead or dry wood: Choose anvil. The crushing action handles brittle material well.
    • Roses, shrubs and flowers: Bypass is the safer choice for most ornamental pruning.
    • Thick branches: Pruners of either type struggle past about three quarters of an inch. Use loppers or a saw instead.

    Pros and cons of each pruner type

    FeatureBypassAnvil
    Cut quality on live stemsClean and preciseCan crush stems
    Dead woodCan bind or twistWorks well
    Blade upkeepNeeds sharpening and alignmentAnvil may need replacing
    Reach into tight spotsNarrow blade, easy accessWider head

    5 checks before choosing Fiskars bypass pruning shears

    Fiskars bypass pruning shears product details
    Fiskars product detail visual from The Home Depot listing. Confirm the selected model and its specifications before purchase.
    1. List your main jobs. Mostly flowers and shrubs points to bypass. Mostly cleanup of old branches points to anvil.
    2. Check the hand fit. Handles should open and close without strain. Small hands benefit from a ratchet or compact model.
    3. Look at the blade. Coated or high-carbon steel stays sharp longer and resists sap.
    4. Test the lock. A safety latch you can use one-handed prevents accidents.
    5. Read the warranty. Replaceable blades extend the life of the tool.

    If you are unsure, start with a quality bypass pair. It covers most home garden work.

    Match Fiskars bypass pruning shears to your garden

    • Rose and flower beds: Bypass, with a slim tip for tight spots.
    • Vegetable gardens: Bypass for tomato and pepper stems, since clean cuts reduce disease risk.
    • Orchard and fruit trees: Bypass for live wood, plus loppers for branches.
    • Overgrown yards: A second anvil pair for dead wood saves your good blades.

    Our Fiskars bypass pruning shears review explains the identified model’s published features, limits and buying considerations. We have not personally tested it.

    Common Mistakes to Avoid With bypass vs anvil pruning shears

    • Using anvil pruners on green stems. The crushing cut invites rot.
    • Forcing thick branches. It bends the blades and strains your hand.
    • Skipping cleaning. Dirty blades spread plant disease from one plant to the next.
    • Cutting at the wrong angle. Cut just above a bud at a slight slant.

    Fiskars bypass pruning shears: care and maintenance

    A few habits keep your bypass vs anvil pruning shears choice working for years. Wipe the blades after each session with a damp cloth. Remove sap with a little rubbing alcohol. Oil the pivot every few weeks and sharpen the blade once or twice a season. Store the pruners closed and dry. For clear, practical pruning guidance, see the Arbor Day Foundation tree care tips.

    Check Fiskars bypass pruning shears before buying

    Our Fiskars bypass pruning shears review covers one identified model, its published 5/8-inch cutting limit and the buying checks to run first. Read those checks before opening the product link. We don’t claim it suits every hand or every job.

    Check the shears on Amazon → Read the buying checks

    Amazon link is an affiliate link: as an Amazon Associate I earn from qualifying purchases, at no extra cost to you. Check the current price, size and details on Amazon before buying.

    Conclusion

    Choosing between bypass vs anvil pruning shears is simple once you know the rule: bypass for live growth, anvil for dead wood. Pick a comfortable, well-built pair, keep it clean and sharp, and your plants will thank you every season. Browse our related garden tool reviews for more help.

    FAQs

    Are bypass or anvil pruners better for beginners?
    Bypass pruners. They suit most plants and make cleaner cuts on living stems.

    Can I use Fiskars bypass pruning shears on dead wood?
    Yes, for thin dead stems. For hard, dry wood an anvil pair or a saw is easier.

    How thick can Fiskars bypass pruning shears cut?
    The Classic model discussed here lists a 5/8-inch capacity. Check the exact selected model and use an appropriate lopper or saw for material beyond its stated capacity.

    How often should I sharpen pruners?
    Once or twice a season, or whenever cuts start to look ragged.

    Do I need both types?
    Not necessarily. One good bypass pair covers most gardens. Add an anvil pair for lots of dead wood.

  • Best Garden Trowels: What to Look For Before You Buy

    Best Garden Trowels: What to Look For Before You Buy

    Skip to content

    Lawn & Garden • Buying guide • Updated October 23, 2026

    Best Garden Trowels: What to Look For Before You Buy

    Explore related guides: Gifts for gardeners · Fiskars Ergo trowel review · Fiskars bypass pruning shears · Raised garden bed review · Gorilla dump cart review.

    Ever finished an afternoon of planting with sore wrists and a bent blade? The wrong tool turns a relaxing hobby into a chore. Choosing the best garden trowel makes planting faster, easier on your joints, and more precise. A good trowel is the most-used tool in a home gardener's kit, so it's worth getting right before you buy.

    What to look for in the best garden trowel

    Best garden trowel types and materials compared

    Before comparing models, know the parts that matter:

    • Blade material: Stainless steel resists rust and slices through soil cleanly. Carbon steel is strong but needs drying after use. Aluminum is light but can bend in clay.
    • Blade shape: A pointed, scooped blade suits general digging. Narrow blades work for bulbs and tight spaces.
    • Handle: Look for rubberized, cushioned, or wood grips. A university extension planting advice should feel balanced, not top-heavy.
    • Ergonomics: An tool care and soil guidance keeps your wrist neutral and reduces strain, which matters for arthritis or long sessions.
    • Depth markings (optional): Etched measurements help you plant bulbs and seedlings at the correct depth.
    • Companion tools (optional): Pruning shears, such as these pruning shears companion picks, a kneeling pad, and gloves.

    When to buy and how long a trowel lasts

    Shopping takes about an hour of research. Allow a week to test the trowel during real planting. Spring and fall are peak planting seasons, so buy two to four weeks ahead to avoid rushed choices. A quality trowel lasts 5 to 10 years or more, while budget versions may bend within one or two seasons. Spending a bit more upfront usually costs less over time.

    How to choose the best garden trowel, step by step

    Choosing the best garden trowel step by step
    1. Define your tasks. Transplanting seedlings, dividing perennials, and planting bulbs each favor different blade widths. Tip: Write down your top three jobs first.
    2. Set a budget. Decide what you want to spend before you compare. Tip: Avoid the flimsiest, cheapest options; a thin blade or loose handle will not last.
    3. Check the construction. The blade and handle should be one solid piece or tightly welded. Tip: Skip trowels with a thin hollow socket joint, which is a common failure point.
    4. Test the grip. Hold it as if digging. Tip: Wear your gardening gloves when testing, since they change the fit.
    5. Read reviews and warranties. Lifetime warranties signal confidence in the tool.
    6. Test it in soil. Dig a few holes in your own beds and note any hand fatigue or bending.

    Why the right trowel matters

    The best garden trowel won't feed you directly, but it supports a healthier garden and body:

    • Less wrist and hand strain during long sessions
    • Cleaner planting holes that help roots establish, leading to stronger, more productive vegetables and herbs
    • Faster work, so you spend more time enjoying your garden
    • Less waste, because durable tools don't end up in landfills

    Tips for picking the best garden trowel for your soil

    • Container gardening: A short, narrow blade handles pots without disturbing roots.
    • Raised beds: Standard widths work well in loose soil.
    • Clay or rocky soil: Choose forged or thick stainless steel.
    • Small hands or limited strength: Pick lightweight models with cushioned grips.
    • Organic gardeners: Wood handles from sustainable sources are a good choice.
    • Left-handed gardeners: Symmetrical handles are more comfortable.

    Common Mistakes to Avoid

    • Choosing the best garden trowel on looks alone. Test the feel and balance.
    • Using a trowel as a pry bar. Use a garden fork or spade for heavy leverage.
    • Ignoring handle comfort. Poor grips cause blisters and fatigue.
    • Leaving it outside. Moisture damages even stainless steel over time.
    • Choosing too many gadgets. One solid trowel beats a drawer of cheap ones.

    Storage / Maintenance Tips

    Rinse soil off after each use and dry the blade thoroughly. Wipe it with a little oil in the off-season to prevent rust. Sharpen the edge once a year with a mill file for cleaner cuts. Store it in a dry shed or hang it on a hook. Check handle screws or rivets each spring. In freezing climates, bring wooden-handled tools indoors for winter.

    Conclusion

    The best garden trowel comes down to blade quality, a comfortable grip, and a fit for your soil and tasks. Take your time, test your options, and invest in a tool you'll reach for every season. Have a favorite trowel? Share it in the comments, and explore our related gardening tool reviews for more help.

    FAQs

    What is the best material for a garden trowel?
    Stainless steel is the best all-around choice because it resists rust and stays strong.

    How much should I spend on the best garden trowel?
    Spend enough for a solid, one-piece or tightly joined trowel with a comfortable grip; very cheap trowels often bend or break. Check the current price on the listing.

    Do ergonomic handles really help?
    Yes. They reduce wrist strain and are especially useful for longer sessions or joint discomfort.

    Can one trowel do everything?
    A mid-width, pointed trowel handles most tasks. Add a narrow one for bulbs if needed.

    How often should I replace my trowel?
    Replace it when the blade bends, the handle loosens, or rust pits the metal. A quality one can last a decade.

  • Fiskars Ergo Garden Trowel Review

    Skip to content

    Lawn & Garden · Research-based assessment

    Fiskars Ergo Garden Trowel review: 5 essential buying checks

    A hand trowel earns its place through the small planting jobs you actually do. This Fiskars Ergo garden trowel review looks at its published construction and the practical limits of choosing a compact manual digging tool.

    Research, not a product test. Homingwell checked the identified Amazon listing on October 9, 2026. Specifications below are listing statements, not laboratory measurements. We have not personally used this product, verified every promotional claim, or tested long-term performance. No customer rating, star score, current price or availability is reproduced.

    Affiliate disclosure: As an Amazon Associate I earn from qualifying purchases. Homingwell may receive a commission from qualifying purchases through the links on this page.

    Quick verdict · Research assessment

    Fiskars Ergo garden trowel review: our buying verdict

    Shortlist this trowel for defined small planting and soil-handling jobs when the shape and grip suit your routine. Choose a different scale of tool for larger work. Its listed construction does not prove comfort or durability under every ground condition.

    On this page

    Key specifications

    Tool type
    Manual hand trowel
    Head
    Listed cast aluminum
    Handle
    Ergonomic-grip description
    Storage feature
    Hang hole

    The identified listing describes one trowel with a cast-aluminum head, a grip and a hanging hole. Rust-resistance, fatigue and durability statements are manufacturer or seller claims, not performance measurements from this review.

    Pros: reasons to consider it

    Reasons to consider the format, rather than tested performance findings:

    • Compact manual format
    • Cast-aluminum description
    • Grip-focused design
    • Hang-hole storage
    • Single-tool purchase

    Cons and limitations

    • The small format is not intended to replace larger tools.
    • Ground conditions affect whether the tool suits the job.
    • Comfort and durability have not been independently tested.

    Best for / not ideal for

    Best for

    Small planting and soil-handling jobs with a suitable shape and grip.

    Not ideal for

    Large excavation or ground conditions requiring a different scale or type of tool.

    Match the scale of the job

    List whether you need to plant small containers, work between established plants or prepare larger holes. A hand tool can fit confined work, but it is not automatically the most efficient choice for every digging project. Compare the opening and access around the plant with the tool shown. For larger preparation tasks, consider a suitable larger tool rather than forcing a small one to do everything.

    Consider the ground conditions

    Observe your working material and the space available for movement. Do not treat a heavy-duty label as proof that a hand trowel can move any soil, root or obstruction. Follow the tool’s intended use and avoid improvised levering. We have not tested bending resistance, penetration or performance in your garden. Choose a method appropriate to the actual ground instead of buying from a headline claim.

    Assess grip for your routine

    An ergonomic description is worth noticing, but your hand size and usual posture determine whether the handle feels suitable. Think about the position you use around pots or low beds and whether you can comfortably change tasks. If possible, compare a similar grip before ordering. We have not measured fatigue, comfort or control; no universal ergonomic benefit is assumed.

    Plan cleaning and storage

    Read the supplied care directions and choose a convenient place to remove debris and store the tool. The hang hole can support a storage plan when it is compatible with your chosen location. Do not leave care decisions until the tool is already dirty and needed again. A material described as rust resistant still needs the maintenance and storage treatment recommended by its maker.

    Compare a small tool set

    A trowel, transplanter and cultivator have different jobs even when their handles look similar. Compare the tasks you lack a tool for before buying a whole matching set. A single suitable trowel may be enough for your routine, while another shape may improve access in narrow containers. We have not tested head wear, handle attachment, edge condition or long-term performance. Keep warranty and seller conditions separate from those unknowns.

    How we assess the evidence

    Our five criteria are build quality, ease of use, functionality, design and value. A material description informs the first criterion but does not establish durability. Setup and maintenance affect ease of use. Functionality depends on the job you need done, while design includes practical fit as well as appearance. Value requires comparing the complete purchase with alternatives. These questions guide this assessment; they are not five invented numerical scores.

    Listing language such as durable, comfortable, easy or safe remains a seller claim unless supported by testing we can examine. We separate concrete published details from our buying inferences and leave unanswered questions visible. Check the current instructions and selected variant before relying on a detail, because listings and included accessories can change.

    Buying considerations

    Before ordering, compare the selected version, seller, included items, delivery terms, warranty and return conditions. Keep the model identifier and instructions with your receipt. If a specification essential to your decision is missing or inconsistent, ask the seller for clarification before buying. Our affiliate link identifies the listing checked; it does not certify the seller, guarantee stock, or replace your final product and terms check.

    Check the selected product on Amazon

    Check this version on Amazon

    Check the exact model, selected variant, seller and current terms. This is an affiliate link.

    Listing identity checked through retrieved Amazon content on October 9, 2026. Current offers can change. Affiliate attribution and checkout have not been transaction-tested.

    Sources and further reading

    For general background beyond this review, see University of Minnesota Extension.

    The identified Amazon product listing, ASIN B004S0PGPM, is the source for published product details. Promotional statements are not independent verification. No licensed photograph of this exact product is presented.

    Explore Lawn & Garden buying guidance · Plan your purchase · Affiliate disclosure